

You need images for a blog post. You don’t want to pay for stock photos, and hiring a designer is out of the question. A free AI image generator seems like the answer—until you try it and end up with a random assortment of images that don’t look like they belong together.
The problem isn’t the tool. It’s the process. Most people type a prompt, get something vaguely interesting, and call it a day. But if you want a cohesive set of images for a single piece of content—say, a hero image and three supporting visuals—you need a plan.
Here’s a step-by-step guide to doing exactly that. I’ll use a real example: a blog post about urban gardening. You can swap in your own topic and follow the same steps.
Step 1: Define the Set Before You Generate Anything
Before you open any free AI image generator, write down what you actually need. This takes five minutes and saves you an hour of aimless prompting.
For the urban gardening post, here’s what I decided:
- One hero image (1200×630 pixels) for the social media preview and top of the post.
- Three in-content images (800×600) showing different aspects: a close-up of seedlings, a rooftop garden setup, and a person tending plants.
- Overall mood: bright, optimistic, natural light, slightly warm tones.
- Style: photorealistic, not cartoonish or overly stylized.
With that list, you’re not just hoping for good results. You’re looking for specific images that fit a defined slot.
Step 2: Choose a Free AI Image Generator That Won’t Waste Your Time
Not all free tools are created equal. Some slap watermarks on everything, some limit you to five images a day, and some have confusing commercial-use rules. For a cohesive set, you want a tool that gives you enough freedom to experiment.
If you’re not sure where to start, this roundup of the best free AI image generator tools covers eight options that don’t force you into a subscription.
Here’s what to look for:
- No watermark on the free tier. A watermark ruins the image for blog use.
- Commercial usage rights clearly stated. You don’t want legal headaches later.
- At least 10-20 generations per day. You’ll need multiple tries per image.
- Aspect ratio control. You need 1200×630 for hero images, not just square outputs.
- Negative prompt support. This lets you exclude unwanted elements.
- Upscaling or high-res export. Some free tools output at 512×512, which is too small for a blog header.
Pick one tool and stick with it for the whole set. Switching tools mid-project usually leads to inconsistent styles.
Step 3: Build a Reusable Base Prompt
Consistency comes from repetition. Instead of writing a brand-new prompt for each image, start with a base prompt that captures the style, lighting, and mood you want. Then change only the subject for each image.
For the urban gardening post, my base prompt was:
A modern urban garden on a rooftop, bright morning light, lush green plants, wooden planters, soft shadows, photorealistic style, 35mm lens, warm and inviting atmosphere, high detail
That prompt worked for the hero image. For the close-up of seedlings, I kept everything except the subject:
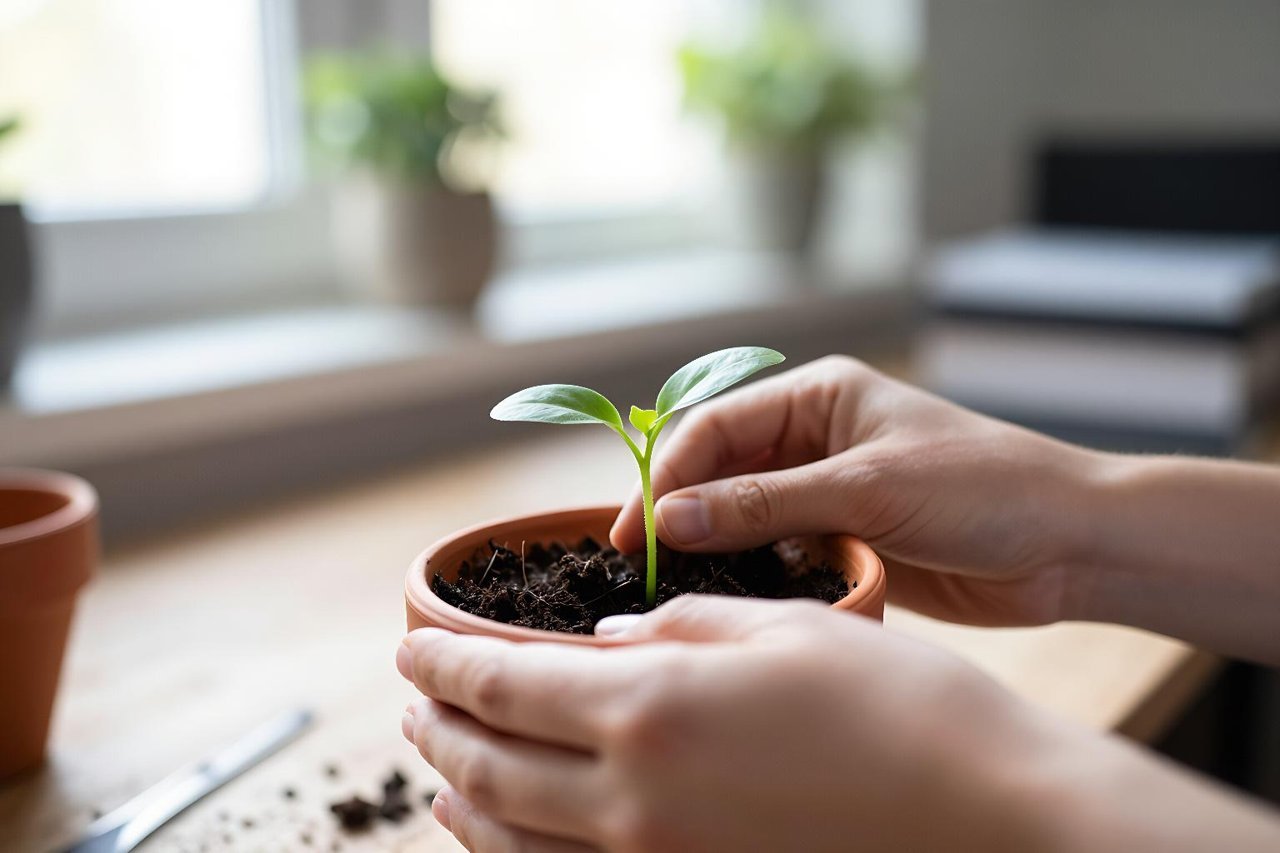
A close-up of young seedlings in a wooden planter, bright morning light, lush green plants, soft shadows, photorealistic style, 35mm lens, warm and inviting atmosphere, high detail
For the person tending plants:
A woman tending to plants in a rooftop garden, bright morning light, lush green plants, wooden planters, soft shadows, photorealistic style, 35mm lens, warm and inviting atmosphere, high detail
Notice how the style words stay the same. That’s what creates the cohesive look.
How to Vary the Subject Without Losing Consistency
Change only the first few words of the prompt—the subject—and leave the rest untouched. If you change the lighting or lens description, the images will feel like they came from different projects.
Step 4: Fix Common Problems with Negative Prompts and Modifiers
Free AI image generators are not perfect. You’ll get weird hands, blurry faces, random text, and colors that don’t match. The fastest way to fix these issues is to tell the tool what you don’t want.
Most tools have a “negative prompt” field. If yours doesn’t, you can sometimes add “no” or “without” statements to the main prompt, but negative prompts work better.
Here’s a negative prompt I use for almost every photorealistic image:
blurry, low quality, watermark, text, logo, extra limbs, distorted faces, oversaturated, cartoonish, painting, illustration, 3d render
If you’re struggling with a specific issue, this guide on how to actually get good images from a free AI image generator goes deeper into troubleshooting.
A Real Example: Fixing a “Too Cartoonish” Result
My first attempt at the rooftop garden image came out looking like a cartoon. The plants had bold outlines and the colors were flat. I added “photorealistic, 35mm lens, high detail” to the positive prompt and “cartoonish, illustration, painting” to the negative prompt. The next batch looked like an actual photograph.
Step 5: Generate, Select, and Refine (Don’t Settle for the First Batch)
Free tools often limit how many images you can create per day, so you need to be strategic. For each image in your set, generate at least four variations. It sounds like a lot, but it’s the only way to get a usable result without wasting credits.
When you review the variations, look for:
- Correct subject and composition
- Matching lighting and color temperature across all images
- No obvious AI artifacts (extra fingers, floating objects, gibberish text)
- Enough resolution for your target size
If a variation is close but not perfect, try tweaking one or two words in the prompt and generating again. Small changes often yield big improvements.
If you’re running low on free credits, check out these tips on how to get impressive results without a subscription.
When to Stop Tweaking and Move On
You can spend hours chasing a perfect image. Set a limit: three rounds of generation per image. If it’s still not right, pick the best one and fix it in post-production, or simplify your prompt.
Step 6: Upscale and Do Basic Edits
Most free generators output at 512×512 or 1024×1024. A blog hero image at that size will look pixelated when stretched to 1200 pixels wide. You need to upscale.
Some tools include an upscaling feature. If yours doesn’t, use a free upscaler like Upscayl or Bigjpg. Then open the image in a free editor like Photopea or Canva to:
- Crop to your exact dimensions (1200×630 for the hero, 800×600 for the others)
- Adjust brightness, contrast, and saturation to match across the set
- Add a subtle text overlay if needed—but avoid AI-generated text, which is usually gibberish
This finishing step is what separates a decent image from a professional-looking one. For a deeper look at the full workflow from brief to final image, see this practical free AI image generator workflow.
Step 7: Organize and Integrate Your Images
Once your images are ready, don’t just dump them into your blog post. Name them clearly and add alt text.
For the urban gardening set, I used:
- urban-gardening-hero.jpg
- urban-gardening-seedlings.jpg
- urban-gardening-rooftop.jpg
- urban-gardening-person.jpg
Alt text should describe the image for accessibility and SEO. For example: “Young seedlings growing in a wooden planter on a rooftop garden.”
Place the hero image at the top of the post, then spread the supporting images between sections. This breaks up the text and keeps readers engaged.
Your Turn: Apply This to One Post This Week
Pick a blog post you’re working on—or one you’ve already published but left image-less. Run through the seven steps above. Start with a base prompt, generate a few variations, and refine until you have a set that looks like it belongs together.
The first time you do this, it might take an hour. By the third time, you’ll have a repeatable process that takes 20 minutes and makes your content look far more polished than anything you could pull from a stock photo site.