

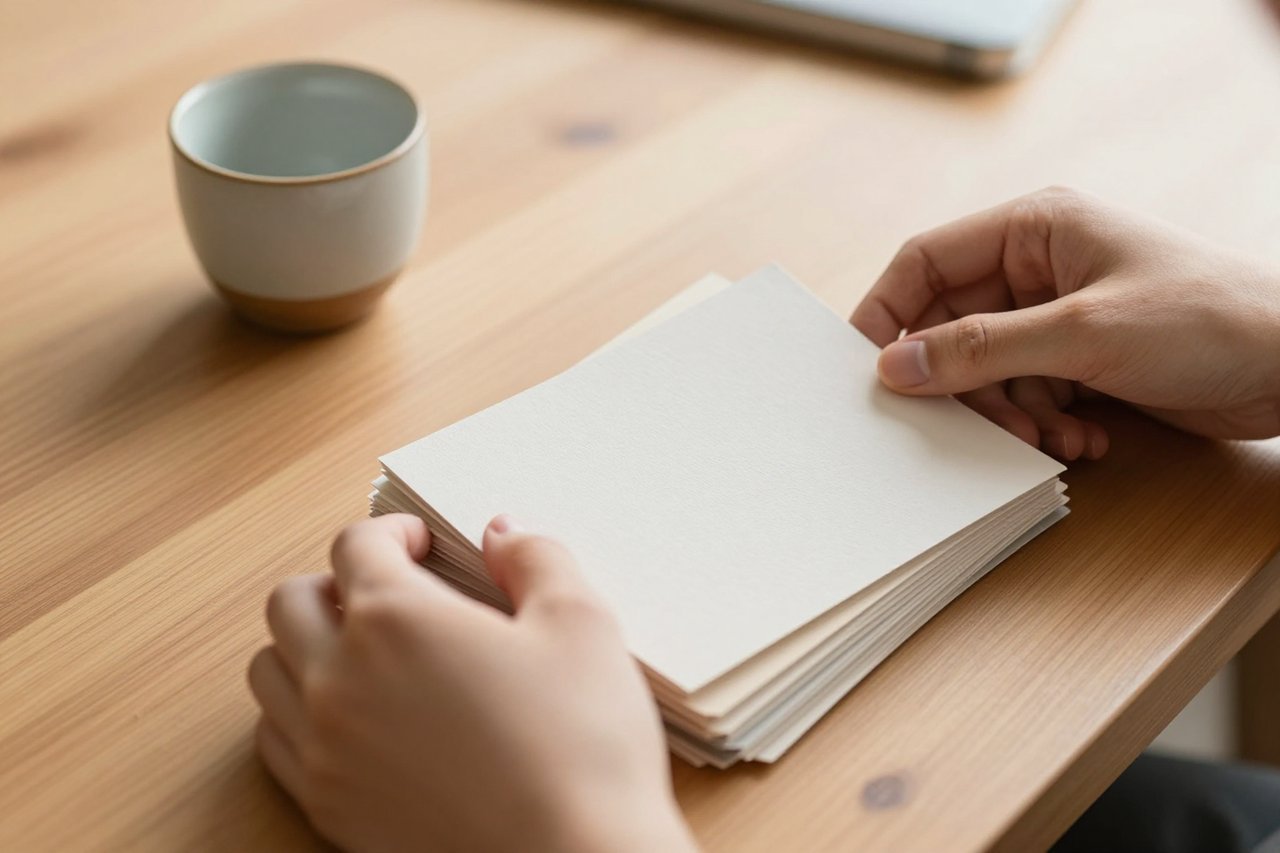
The last time a client asked for a hero image for a cold brew launch, the brief ran to three lines and the deadline was the following morning. No photographer booked, no stock budget worth mentioning. I opened Canva, found Magic Media, and had four usable frames about twenty minutes later.
That isn’t a boast about the tool. It’s about the order you do things in. Most people type one vague word, stare at the grid, and conclude that AI images are useless. The people getting consistent results are running a small, repeatable process, and most of it happens before they press Generate.
For the wider picture of what the feature is and where it sits inside Canva, this primer on how Magic Media turns text prompts into images and short video covers the ground well. What follows is the part a feature overview skips: the working method, with real prompts and honest notes on where it breaks.
Write the brief before you open the prompt box
Magic Media gives you one text field and a handful of controls. Everything you care about has to travel through that field, so decide what you’re asking for first. I keep a scratch note open and answer three questions.
- Subject. What is the single thing in frame? Not “coffee and a table and a newspaper and a laptop”. One thing.
- Setting and light. Indoors or out? Morning, midday, dusk? Hard sun or soft window light?
- Finish. Editorial photograph, flat vector illustration, 3D render, watercolour, grainy film still.
Answering those three takes ninety seconds and saves you four rounds of regenerating. It’s the same discipline behind getting reliable results from a free AI image generator, and it matters more here because output quality swings hard depending on how specific you are.
Step 1: Write the prompt like a photography brief
Here’s the difference in practice.
Weak prompt: “iced coffee”
Working prompt: “Iced coffee in a tall clear glass on a weathered wooden cafe table, condensation beading on the glass, low morning sun from the left, shallow depth of field, muted earth tones, editorial food photography”
The second prompt isn’t long for the sake of it. Every clause answers a question a photographer would ask before setting up the shot. Notice it contains no styling filler such as “beautiful” or “high quality”. Those words do almost nothing. Physical description does the work.
A five-part prompt formula
Subject and detail, setting, lighting, camera or composition, then medium and palette. Roughly one clause each, in that order. You can drop a part when it’s obvious, but the lighting clause is the one people skip and the one that changes results fastest.
Phrases that earn their place
After a few hundred generations you notice which words behave predictably:
- Lighting: “soft diffused light”, “golden hour backlight”, “harsh overhead sun”, “blue hour”
- Composition: “overhead flat lay”, “centred symmetrical shot”, “wide establishing shot”, “close macro detail”
- Texture: “matte finish”, “glossy ceramic”, “brushed metal”, “recycled paper grain”
- Palette: “muted earth tones”, “high contrast monochrome”, “pastel and cream”
Step 2: Choose the aspect ratio before generating, not after
This trips up more people than bad prompts do. The aspect ratio you select influences how the model composes the scene, so generating a square image and cropping it to a wide blog header usually means slicing off the interesting part. Pick the frame first.
- 16:9 for blog headers, video thumbnails, presentation slides
- 1:1 for Instagram grid posts and product tiles
- 9:16 for Stories, Reels covers and phone wallpapers
- 4:5 for feed posts that need maximum vertical space
Style selection matters just as much. If you’re building a set of eight images for one campaign, lock the style on the first image and reuse it, otherwise you’ll end up with eight images that look like they came from eight different brands.
Step 3: Treat the first grid as a contact sheet
Your first generation is not the finished image. It’s a contact sheet, and your job is to find the closest frame and improve it. Change one variable at a time. If the lighting was right but the background was messy, adjust only the background clause. That way you learn what each part of your prompt actually controls, and you stop making changes that cancel each other out.
A useful rule: three rounds maximum. If round three still isn’t close, the concept is the problem, not the wording. Rewrite the brief.
If what you need is a finished page layout rather than a single picture, it helps to know that Canva’s Magic Design workflow handles structure and text placement while Magic Media supplies the imagery. The two features complement each other more than they compete.
Video mode is genuinely useful, within limits
Magic Media also generates short clips from text prompts. Realistically you’re looking at a few seconds per clip, and it performs best on things without anatomy or language: slow-moving water, drifting smoke, abstract gradients, fabric in wind, city lights at night.
Ask for a person walking through a specific doorway and you’ll get uncanny limbs. Ask for a background loop behind a title card and it looks great. Anything longer than a few seconds means stitching clips together anyway, and if the project involves spoken footage, a text-based editor such as Descript, which edits video by editing the transcript, will save you far more time than generating extra B-roll would.
The five failures you’ll hit, and the fix for each
- Melted hands or faces. Crop them out, or reframe the prompt so hands fall outside the shot. “Product only, no people” is a legitimate prompt clause.
- Garbled text inside the image. Never ask for signage, labels or writing. Generate the clean plate and add text in Canva, where the type stays crisp and editable.
- Busy background. Add “plain backdrop” or name the surface: “on a concrete counter”, “against a plaster wall”.
- Flat, plastic-looking output. Name a light source and a surface response. “Soft window light with visible shadows” and “matte ceramic” both help more than adding “realistic”.
- Inconsistent set. Reuse an identical prompt and change one noun at a time. Same lighting clause, same palette, same camera language, new subject.
A few of these are hard limits rather than prompt mistakes, and it’s worth knowing what a free AI photo generator can realistically produce before you promise a client anything specific.
What happens after the image is good enough
AI image tools are easy to over-use. Once a frame reads clearly at thumbnail size and holds up at full width, stop. Diminishing returns arrive fast, and the gap between your fourth and eleventh favourite result is usually invisible to anyone who isn’t you.
Everything after that is ordinary design work. Drop the image into a Canva design, place your headline in the negative space you deliberately left, apply brand colours, export at the size you need. Because generated images land inside Canva rather than in a separate app, you’re working in one file instead of shuttling exports between three.
Two habits worth building before you close the tab. Keep a plain text file of prompts that worked, grouped by project type, because a solid prompt for a soft-focus product shot will serve you for years. And batch your generations. If a campaign needs six images, produce all six in one sitting while the style settings are still fresh, rather than returning a fortnight later and trying to reverse-engineer your own prompt.
One last practical note: export larger than you think you need. Canva offers a 2x download, and generated frames often carry fine grain that vanishes when you scale a small file up for print or a full-width hero, which is where a lot of otherwise good AI images quietly fall apart.