

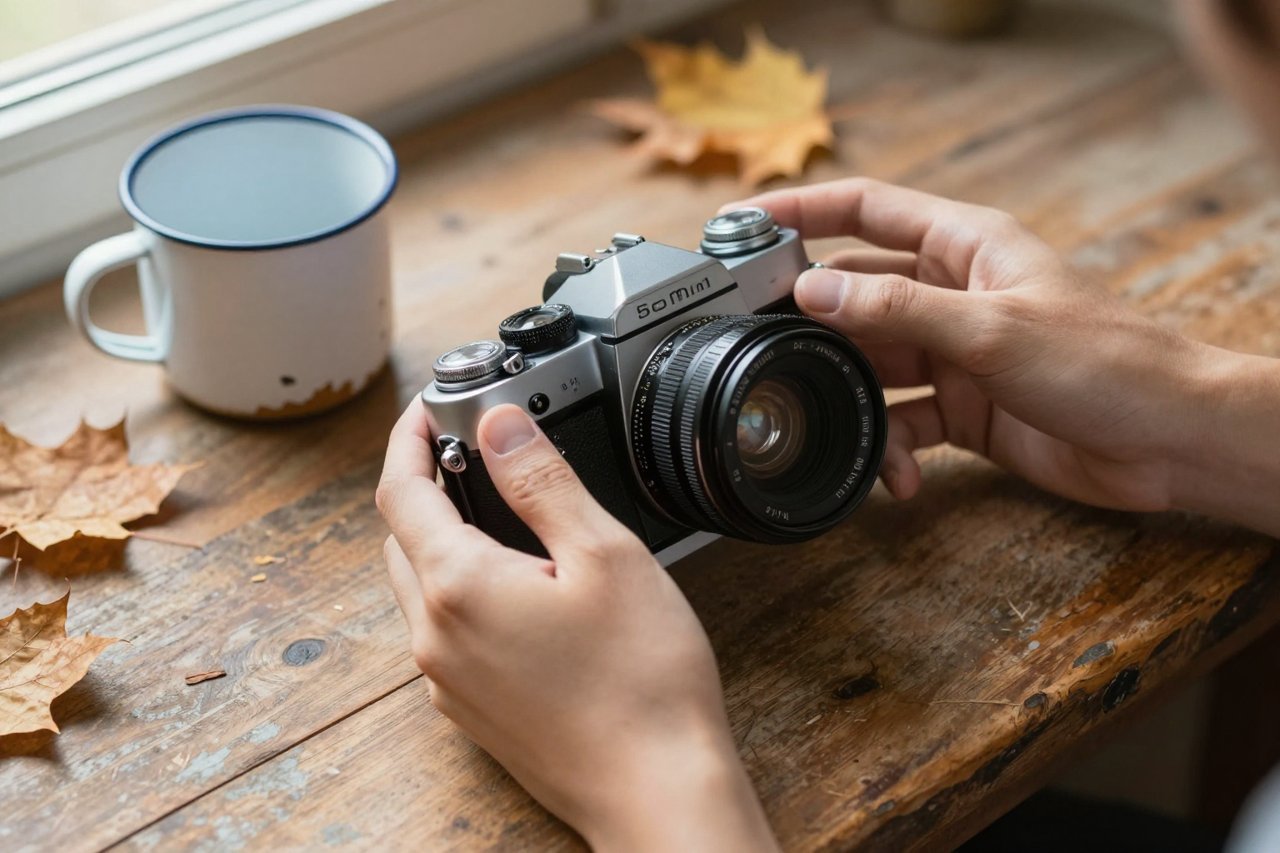
Type “a cat in a garden” into ChatGPT and you’ll get back something that looks like a stock photo from 2009. Nothing is broken. The prompt is just empty. Image generation responds to the same handful of decisions a photographer makes before pressing the shutter: what’s in frame, where the light comes from, how close the camera is, and what happens in the half-second you’re capturing.
What follows is the sequence I use for client mockups and article headers. It usually gets me a usable frame within two or three attempts.
The mechanics of the feature itself, from where the tool lives to what your plan allows, are covered in this complete guide to generating images inside ChatGPT, so I’ll skip past all that and go straight to what determines whether the output is any good.
Step 1: Lock the Subject, the Action, and the Location
Every strong prompt answers three questions in its first sentence: what is it, what is it doing, and where is it. Vague prompts fail because the model has to invent all three, and it defaults to the blandest possible version of each.
Compare:
- Weak: a dog in a park
- Workable: a wet golden retriever mid-shake on a gravel path, water droplets frozen in the air, trees blurred behind
The second version gives ChatGPT a moment in time. “Mid-shake” does more work than any adjective you could bolt on afterwards. If you want a person, give them an age, a posture, and something to do with their hands. “A woman in her sixties tying a scarf, looking down at her fingers” reads far better than “an elegant older woman”. Hands with a job look convincing. Hands doing nothing look like wax.
Step 2: Add Light and Lens Before You Reach for Style Words
Words like “professional”, “high quality” and “4K” do almost nothing. Ask for light and optics instead, because those are the two levers that visibly change an image.
Light first
Name the source and the direction. “Backlit by a low sun coming through a window on her left” produces something dramatically different from “soft overcast light”. Add a colour temperature when mood matters: warm amber versus cold blue morning. One light source per prompt keeps things clean; two starts to muddy the shadows.
Then framing
Camera language is the fastest way to control composition. A few that work reliably:
- “Shot on a 50mm lens, f/1.8, shallow depth of field” for portraits
- “Wide 24mm, everything sharp from front to back” for interiors and landscape
- “Overhead flat-lay” for food and product shots
- “Full body, subject fills the frame” when you want the camera to move rather than crop
Materials and texture last
Specific surfaces are the difference between plastic and real: chipped enamel, cracked leather, brushed aluminium, condensation on glass. One or two per prompt is plenty. Stack five and the model starts ignoring them.
Step 3: Iterate Inside the Same Thread
Most people throw away a decent image because one detail is off, then start a fresh chat and hope for better luck. Stay in the thread. ChatGPT remembers the conversation, so you can point at what it just made instead of describing the whole scene again.
Follow-ups that work:
- “Keep this exactly as it is, but move the camera closer and lower.”
- “Same scene, swap the flat grey sky for heavy overcast.”
- “Keep the lighting and pose, change the jacket from red to dark navy.”
- “Same image at night, lit by one streetlamp behind the subject.”
“Keep this exactly as it is” is the important half of those sentences. Without it, the model treats every message as a fresh brief. If a follow-up drifts too far from the original, paste your first prompt back in with the single change baked into the text and run it again. There’s a fuller breakdown of how regeneration and edits behave in this walkthrough on generating and editing ChatGPT images.
Step 4: Change One Variable Per Attempt
Change four things at once and get a worse image, and you’ve learned nothing about which change caused it. Move one variable, hold the rest. It feels slow for two attempts and then speeds up considerably, because you’re building a record of what this model actually responds to.
A practical order: composition, then light, then colour, then small props. Composition errors are the most expensive to fix later, so get the frame right before you fuss over a mug.
Step 5: Know the Five Things That Break
Some failures are baked into current image models. Knowing them saves a dozen pointless retries.
- Text. Anything longer than two or three short words comes out garbled, which makes menus, labels, charts and packaging a losing battle. If lettering is the whole point of the image, a tool built for typography is the better choice, like Ideogram, which finally gets in-image text right.
- Hands. Ask for “hands out of frame”, “hands in pockets” or “holding a mug with both hands” and the problem mostly vanishes.
- Named people and brands. Real celebrities, logos and trademarked characters are refused or politely fudged. Describe the look instead of naming it.
- Crowds. Past four or five people, faces turn to mush. Push the crowd into the background and blur it.
- Symmetry. Straight-on architecture and perfect patterns invite warped lines. Tilt the camera two degrees and they hold together.
A Prompt Template You Can Reuse
Once you find phrasing that works, stop reinventing it. Fill these six slots in order and the first pass is usually close:
- Subject: who or what, with one identifying detail
- Action: what they are doing at this exact moment
- Setting: location, time of day, weather
- Light: source, direction, warmth
- Camera: distance, lens, depth of field
- Palette: two or three colours you want dominating
Filled in, it reads: “A baker in her fifties lifting a tray of sourdough from a rack, steam rising, small tiled bakery at dawn, warm light from a window behind her left shoulder, medium close-up on a 50mm lens with a soft background, cream, rust and dark green palette.”
That’s about 45 words. A long prompt isn’t automatically better, but that length beats a six-word version by a wide margin almost every time.
Three Prompts to Steal and Adapt
- Editorial portrait: “Close-up of a jazz drummer in his seventies, eyes closed mid-phrase, dark club stage, single amber spotlight from above and slightly behind, 85mm lens, shallow depth of field, deep blues with warm skin tones.”
- Product shot: “Matte ceramic coffee cup on a rough concrete plinth, condensation on the outside, soft daylight from the right, overhead flat-lay, brushed steel spoon beside it, muted grey and off-white palette.”
- Wide scene: “A lone hiker crossing a wet moorland path, low cloud, wide 24mm landscape, everything sharp front to back, cold blue and peat brown.”
Swap the subject out of any of those and leave the lighting and camera language untouched. That’s the entire trick. The subject is the variable; the photographic scaffolding is the template.
Batch, Save, and Reuse What Works
When a prompt lands, copy it somewhere. A plain notes file with 20 proven prompts is worth more than any prompt library you’ll find online, because it’s tuned to the phrasing your own account responds to. Group them by use: portraits, products, scenery, thumbnails.
Then change the subject and a slot or two and run it again. If you work across several models, it’s worth knowing where each one is weak before you commit, since Grok and ChatGPT fail in different places and the same wording rarely performs identically in both. If you’re still deciding whether to pay at all, here’s a look at what free AI chat tools realistically give you before you spend anything.
Keep the loop tight: one prompt, one change per retry, and a saved record of the iterations that landed. Twelve tuned prompts in a notes file will outperform a hundred fresh guesses, and after a few weeks you’ll stop thinking of it as prompting at all.