

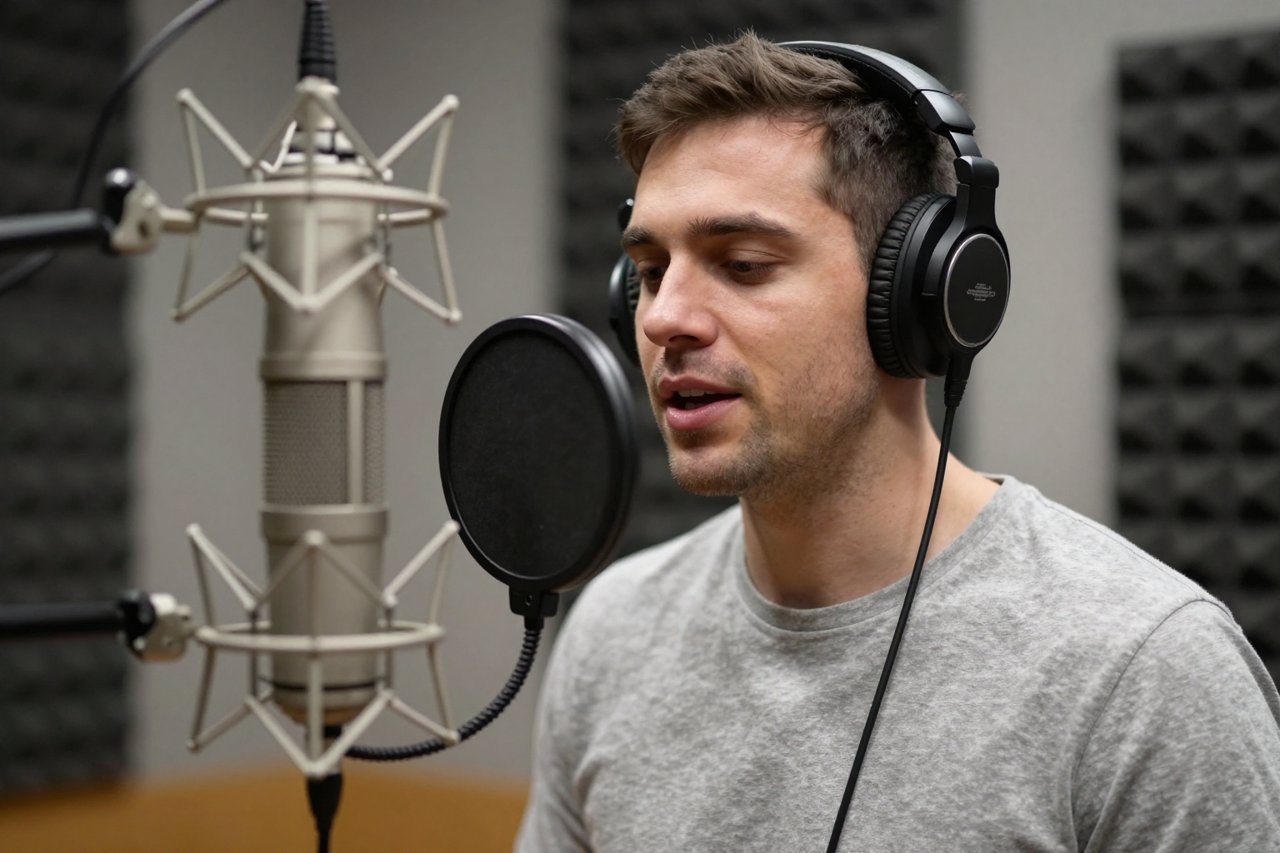
Your indie RPG has 200 lines of dialogue, three distinct characters, and a budget that won’t stretch to a full voice cast. You’ve heard about Replica Studios, the AI voice platform that game developers actually use, but you’re not sure where to start. This guide walks you through the entire process—from picking a voice to exporting a finished audio set—using a concrete example: a fantasy tavern scene with a sly rogue, a weary wizard, and a booming innkeeper.
If you want the big-picture story of how Replica Studios became a go-to tool for game audio, our deep dive on the platform’s game-dev toolkit covers the background. Here, we’re getting hands-on.
Step 1: Set Up Your Replica Studios Account and Project
Head to the Replica Studios website and create a free account. You can work in the browser or download the desktop app; the browser version is fine for most projects. Once you’re in, create a new project. I’ll call mine “Tavern Tales”. The platform has been used in titles like The Elder Scrolls: Blades, so it’s not just a toy.
Free Tier vs. Paid Plans
The free tier gives you a limited number of characters per month and restricts use to non-commercial projects. That’s enough to test voices and build a prototype. For a commercial game, you’ll need a paid plan, which starts around $20 per month and includes commercial rights plus a higher character limit. If you’re just experimenting, stay on free until you’re ready to lock in your cast.
Step 2: Cast Your Characters from the Voice Library
Replica’s voice library is organized by gender, age, accent, and style tags like “narrative”, “conversational”, and “energetic”. Use the search bar and filters to narrow things down. For my three characters, here’s what I picked:
- Rogue: Filter for “young adult”, “female”, and the tag “sassy”. I landed on a voice called “Avery” that has a playful, confident edge.
- Wizard: Filter for “elderly”, “male”, and “wise”. “Elder Thomas” sounds weary but warm, perfect for a character who’s seen too many adventurers come and go.
- Innkeeper: Filter for “middle-aged”, “female”, and “booming”. “Greta” has a big, welcoming delivery that fills a room.
Previewing Voices with a Test Line
Don’t just listen to the demo reel. Type the same line into each voice’s preview box to compare fairly. I use: “I wouldn’t go down that road if I were you.” Avery makes it sound like a dare. Elder Thomas makes it sound like a warning. Greta makes it sound like a joke. That tells you a lot about how each voice will handle your script.
Step 3: Write Dialogue That AI Can Perform
AI voice generators don’t read stage directions. If you type “(laughs) I wouldn’t go down that road”, the model might literally say the word “laughs” or ignore it entirely. Instead, use punctuation to shape the performance. Ellipses create pauses. Commas create small breaks. Periods end sentences cleanly. For example, instead of “I wouldn’t go down that road (laughs) if I were you”, write “I wouldn’t go down that road… if I were you.” The pause does more than a parenthetical ever could.
Formatting Tips for Better Output
Keep sentences short. Break long paragraphs into separate lines. Spell out numbers and abbreviations (“twenty” not “20”, “mister” not “Mr.”). If you need a hard pause, use a double line break or the pause control in the editor. And always proofread—AI will read exactly what you give it, typos and all.
Step 4: Direct the Performance with Sliders and Emotion Tags
Once you’ve assigned voices to your lines, you can tweak each performance. Replica Studios gives you sliders for Pace, Pitch, Emphasis, and Pause. There are also emotion presets like “Angry”, “Sad”, and “Whisper” that you can apply and then fine-tune.
Example: Directing the Rogue’s Line
For Avery’s line “I wouldn’t go down that road… if I were you”, I set Pace to +10% for a quicker, more flippant delivery. I bumped Pitch up by 2 semitones to make her sound younger. Then I added a 300ms pause after “road” to let the warning land. For Elder Thomas, I did the opposite: Pace -15%, Pitch -3, and a 500ms pause. Same line, completely different character.
If a line doesn’t work, you can regenerate just that line without touching the rest of the scene. That’s a huge time-saver compared to re-recording a whole session with a human actor.
Step 5: Export and Integrate into Your Game Engine
When you’re happy with the performances, export your lines. WAV is the best format for game audio—44.1kHz, 16-bit is standard. Replica Studios offers plugins for Unity and Unreal Engine, which let you import directly into your project. If you’re using another engine, just download the files and drag them in.
Naming and Folder Structure
You’ll thank yourself later if you name files systematically. I use a simple convention: character_lineNumber_variant.wav. So the rogue’s first line becomes rogue_01_intro.wav. I keep all dialogue in a folder like Assets/Audio/Dialogue/Tavern/. Then my audio manager script can reference them by name.
Step 6: Polish the Audio Mix
AI voices are clean, but they can sound sterile. A little reverb goes a long way for a tavern scene—try a small room preset to make the characters feel like they’re in the same space. Use EQ to cut low-mid mud around 200-400Hz if the voice sounds boxy. And compress lightly to even out the levels between lines.
Don’t forget background music. If you need a looping tavern theme, tools like Udio can generate one from a text prompt, though you’ll want to check the licensing terms before you ship. For ambient chatter, you can layer in a few crowd loops at low volume.
Step 7: Playtest and Iterate
Load your scene in the game and play it. Does the rogue sound too young? The wizard too sleepy? Maybe the innkeeper’s laugh is a little too polite. Note the lines that feel off, then go back to Replica Studios and swap voices, adjust sliders, or rewrite the text. Regenerate, re-export, and replace the files. This loop takes minutes, not days.
What to Watch Out For: Ethical and Technical Limits
Replica Studios is built around consent. Their voice actors are paid when their voices are used, and you can’t clone someone else’s voice without permission. If you want to clone your own voice for the protagonist, the platform offers a consent-based service. For a DIY approach, our hands-on walkthrough of cloning three voices with OpenVoice in under an hour is a great starting point. If you’d rather run a model locally, OpenVoice is an open-source option you can run yourself.
Technically, AI voices still struggle with high emotion—crying, screaming, or subtle sarcasm. For a AAA cutscene where the hero breaks down, you’ll want a human actor. But for background NPCs, barks, and prototypes, Replica Studios is more than good enough. The technology is already powering things like ESPN’s animated sports alt-casts, so the quality bar keeps rising.
Where Replica Studios Fits in Your Audio Pipeline
Here’s a realistic timeline for a 200-line scene like my tavern example:
- Voice casting and setup: 30 minutes
- Writing and formatting dialogue: 1-2 hours
- Generating and directing performances: 1 hour
- Exporting and integrating: 30 minutes
- Polishing the mix: 1 hour
- Playtesting and revisions: 1 hour
That’s about half a day of work for a full scene. Compare that to booking three actors, scheduling a studio, and running a session—easily a week and several hundred dollars. For indie teams, that’s a game-changer.
Use Replica Studios for the bulk of your dialogue, then save your budget for the handful of lines that really need a human touch. That’s the practical sweet spot: AI for volume, humans for impact.