

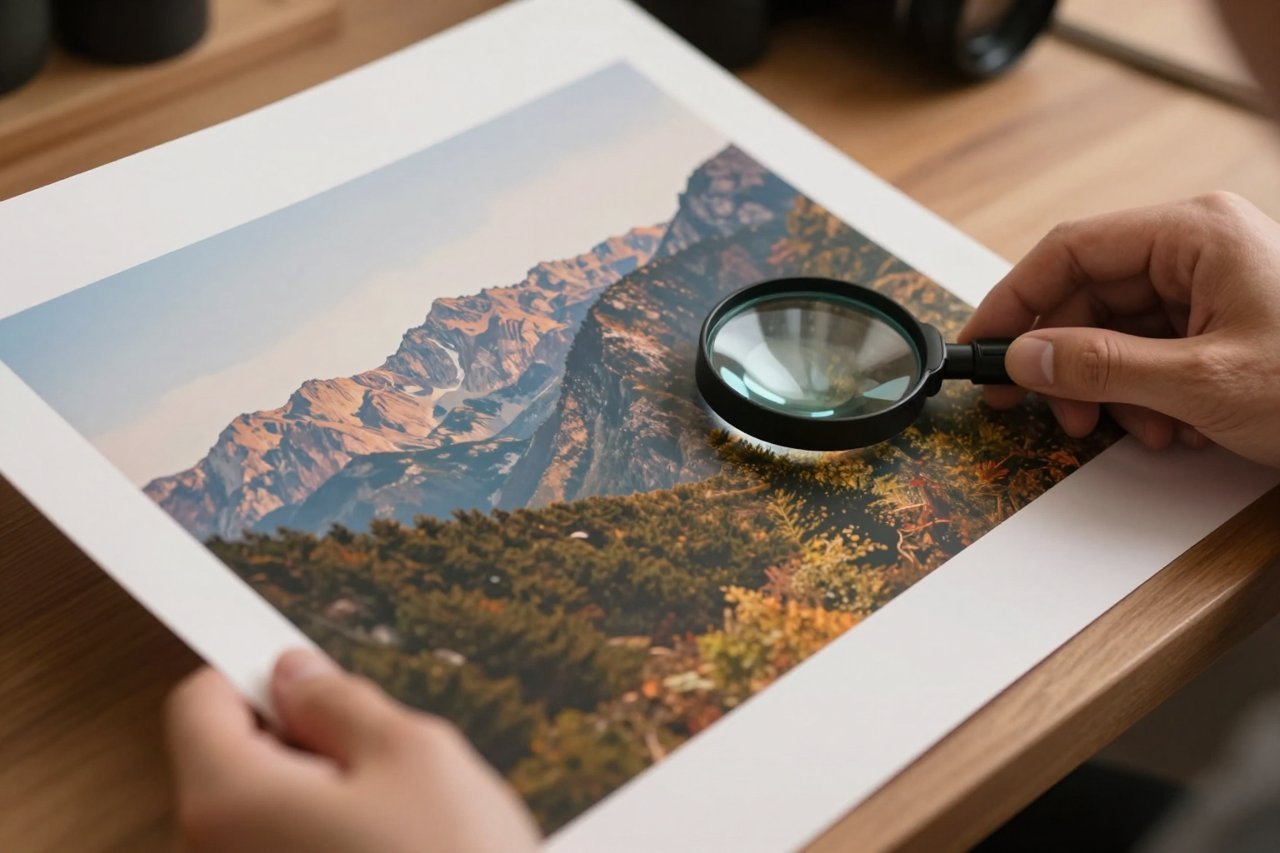
A 1200 x 800 product photo looks immaculate on a laptop. Then the client asks for it on a 60cm poster, or a marketplace rejects it for being under 1600 pixels on the long edge, and suddenly the same file is a mush of soft edges and blocky gradients. This is the moment most people go looking for an AI image upscaler.
The results can be genuinely startling. They can also be genuinely wrong. Knowing which of those two you’re about to get is the difference between a print that holds up under a gallery light and a face that looks like it was painted by someone who has only had faces described to them.
What an AI upscaler does that a plain resize doesn’t
Stretch a 500-pixel-wide JPEG to 2000 pixels in any basic editor and the software has almost nothing to work with. It looks at neighbouring pixels and blends them, which is why the output looks like it’s been smeared with a damp finger. That’s bicubic or Lanczos interpolation, and it has been the default for thirty years.
An AI upscaler takes a different route. Models like Real-ESRGAN, SwinIR and the various commercial equivalents were trained on millions of pairs: a clean, high-quality image and a deliberately degraded copy of it. The model learns what detail usually sits behind a soft edge or a noisy patch of texture, then reconstructs that detail when it sees the same kind of damage. Edges come back sharp. Brickwork regains its courses. Hair stops looking like a brown smear.
Common magnification factors are 2x, 4x and 8x. A 4x pass on a 1000-pixel image gives you 4000 pixels, which comfortably covers A3 at 300 DPI. Most good tools will also run a second pass, and that’s where quality tends to collapse, so resist the temptation to push it to 16x just because the slider goes there.
Where upscalers earn their keep
Four situations cover most of the real-world use:
- Print. Anything destined for paper needs roughly 300 pixels per inch at final size. That poster mock-up you generated at 1024 square won’t cut it without help, which is exactly the problem covered in this guide to making posters with an AI poster generator.
- Marketplaces and ad platforms. Etsy, Amazon and most paid social placements have minimum pixel dimensions. Enlarging is quicker than reshooting.
- Old photos. Scans from a 2004 point-and-shoot, phone shots pulled off a dead handset, family pictures where the only copy is a compressed WhatsApp forward.
- Tight crops. You shot wide and only one 300-pixel sliver of the frame is usable.
The three places it goes wrong
Faces at 4x and above
Faces are the hardest test, because humans are brutally good at spotting a fake one. A general-purpose model will often produce something plasticky and slightly symmetrical, with pupils that don’t quite match and teeth fused into a single white block. Dedicated face-restoration passes help, but they can also over-correct an older person into a smoothed-out approximation of themselves. Check eyes and teeth at 100% zoom before you commit.
Text, logos and signage
If a sign in the background reads “CAFE” at 200 pixels wide, the model has maybe four pixels per letter to work with. It will confidently invent a word that isn’t CAFE. Never trust an upscaler on anything with lettering in it, and if the text matters, rebuild it as a vector overlay afterwards.
The over-sharpened look
Cheap upscalers crank edge contrast to make results feel crisp on a thumbnail. Blown up on a big screen, skin looks sandpapered and foliage looks like crumpled foil. If the output makes you squint slightly, it’s overcooked.
Settings worth adjusting before you hit go
Most tools bury the useful controls. These four do most of the work:
- Scale factor. Go to the smallest size that meets your actual need. Two 2x passes usually beat one 4x pass.
- Denoise strength. Too low and compression artefacts get amplified along with the detail. Too high and you lose real texture. Start around the middle and compare.
- Face restoration. On for portraits, off for landscapes, architecture and anything where the model might hallucinate a person who isn’t there.
- Output format. PNG or TIFF for anything going to print, since JPEG re-compression at high resolution undoes some of the work you just paid for.
Upscaling images that were AI-generated in the first place
This is a growing slice of the workflow and it behaves differently. Generated images often arrive with smooth gradients, faint repetitive patterns and slightly soft micro-texture, which is the exact signature an upscaler is trained to sharpen. Push it too hard and those faint patterns turn into visible tiling.
The fix is upstream: generate at the largest size the model offers, keep the prompt detailed enough to produce real texture, and avoid generating small and enlarging later. If you’re working from an existing image rather than a prompt, this walkthrough for generating from an image covers how the starting file shapes what you can pull out of it. And if you want the source pixels to be worth enlarging in the first place, a structured prompt at generation time does more for you than any 8x pass will, as this FLUX workflow for turning rough ideas into finished images demonstrates step by step.
A workflow that holds up under scrutiny
Here’s the sequence I’ve settled on after too many failed prints.
- Work out the real target. Print at 300 DPI, screen at 1440 pixels wide for a hero image. Write the number down.
- Clean first. Crop, straighten and remove obvious dust or artefacts before enlarging. Every flaw gets magnified.
- Run a 2x pass and inspect at 100%. Look at eyes, thin lines, fabric weave and any lettering.
- Run a second 2x pass on the result if you still need more pixels. Compare against a single 4x pass.
- Add grain. A very light film grain across the final file hides the tell-tale smoothness of upscaled texture and makes prints look photographed rather than processed.
- Export lossless, then check the file size. A 4000-pixel PNG from a detailed photo can hit 30MB, which is fine for print and too heavy for a website.
For web use, resize back down to the exact dimensions you need and compress normally. The point of the upscale was to get clean detail, not to serve a 12MB image to someone on 4G. If you’re producing a set of images that need to match each other, whether for a blog or a product page, the enlargement step belongs at the end of a consistent pipeline, much like the approach in this guide to building a cohesive blog image set.
What it costs, and when free is enough
Free desktop tools exist and are remarkably capable. Upscayl and Real-ESRGAN run locally, need no account and handle a folder of images in a batch. The catch is setup and GPU requirements, plus no face restoration unless you add a separate model.
Subscription tools like Topaz Gigapixel and the various web services charge between roughly $10 and $60 a month depending on tier. You’re paying for a clean interface, face recovery that actually works, better handling of noise and colour shifts, and batch presets. If you upscale once a month, free is plenty. If you’re prepping 80 listing images a week, the paid tools pay for themselves in saved hours.
Where upscaling stops being the answer
There’s a threshold below which no model can rescue you. Roughly speaking, once you’re asking for more than a 8x enlargement of a heavily compressed JPEG, or trying to recover a face that occupies 40 pixels in the source, the honest move is a reshoot or a regeneration.
Two practical tests. First, squint at the source image: if you can’t tell what an object is at a glance, the upscaler can’t either. Second, print a crop at final size on plain paper before you commit to a big run. It costs pennies and it will catch things a screen never shows you, especially in skin tones and dark gradients where the model tends to paint in blotchy patches.
The best results come from treating enlargement as the last mile of an image workflow, not a rescue operation at the end of it. Start with enough pixels, keep the source clean, enlarge in small steps, and check the output at full size with your sceptical eyes on. When that’s the routine, an AI upscaler stops being a gamble and becomes the least interesting, most reliable step in the job. Which is exactly what you want from it. If you’re generating from scratch rather than fixing an existing file, this six-step method for getting a usable photo out of a free AI photo generator will save you a lot of enlarging later.