

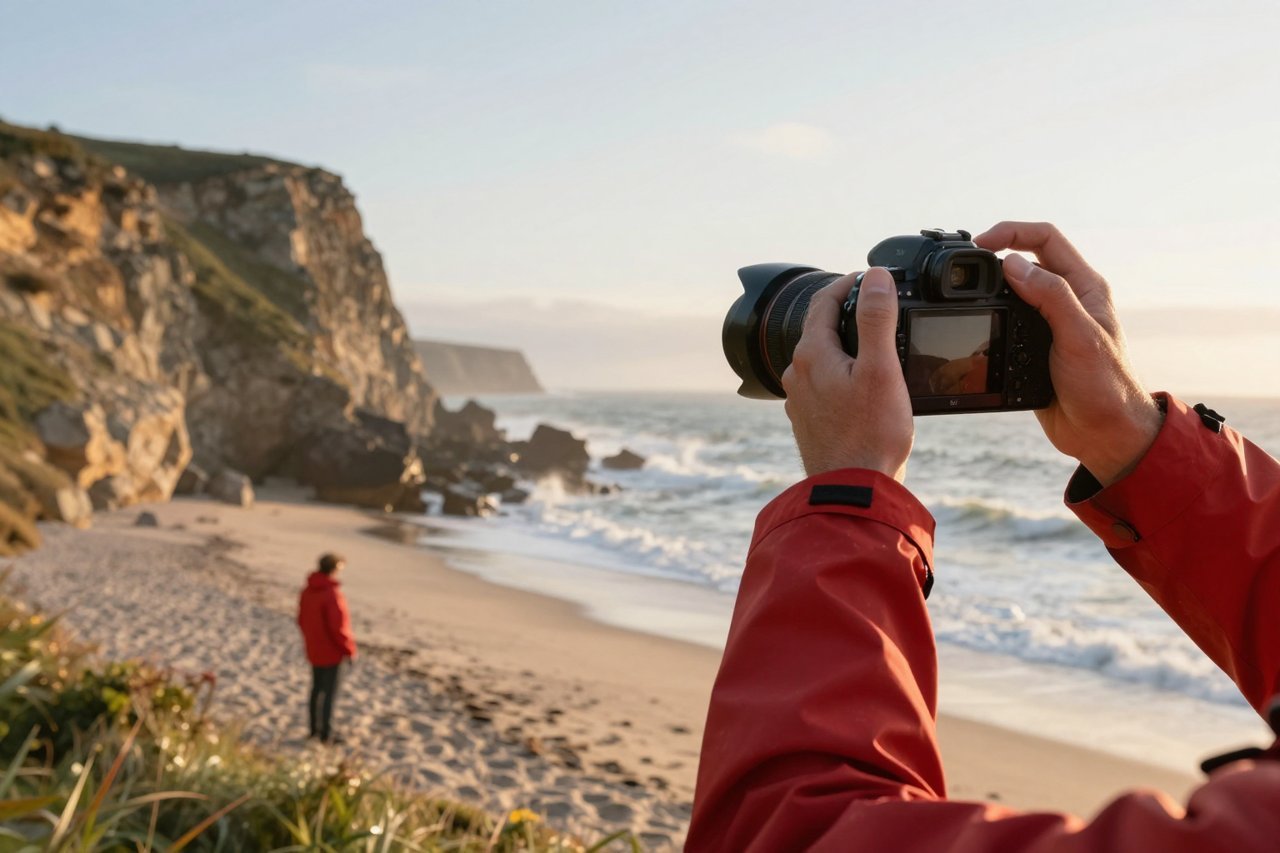
Last summer I took about forty photographs of a lighthouse on the Oregon coast. Thirty-nine of them had a stranger in a red rain jacket planted squarely on the horizon line. Fifteen years ago, that meant half an hour with the clone stamp, sampling rock texture pixel by pixel and hoping nobody noticed the repeating pattern. This time it took about nine seconds: I dragged a rough box around the jacket, clicked once, and the tool rebuilt the cliff behind him, grain and all.
That is what a good AI object remover feels like in practice. Not magic, exactly, but close enough that you stop thinking about the edit and get back to the photo.
What is actually happening when you click remove
Every one of these tools runs two jobs in sequence. The first is segmentation: the model decides which pixels belong to the thing you want gone. Your brush stroke is a hint rather than an instruction, and a decent model will quietly correct a sloppy selection before moving on.
The second job is inpainting, which means generating the pixels that should have been there. This is where the gap between 2012 and now lives. Photoshop’s Content-Aware Fill, which shipped with CS5 in 2010, mostly shuffled nearby texture into the hole. It worked beautifully on grass and brick. On a face, a fence post, or anything with a straight line running through it, it produced the smeared blur that became a running joke.
Modern inpainting models have studied hundreds of millions of image pairs and learned what plausible backgrounds look like. Ask one to fill a gap in a wooden fence and it extends the rails instead of blurring them. That is the whole trick.
Where an AI object remover earns its keep
Certain jobs come up constantly, and they explain why these tools spread so quickly.
- Product photos. Cables, power outlets, price stickers, a stray mannequin arm. A clean ecommerce shot used to mean a studio and a retoucher on retainer.
- Real estate listings. Wheelie bins, a coiled hose, the neighbour’s trampoline sitting in the corner of frame.
- Travel and event shots. Photobombers, tour groups, a traffic cone, overhead power lines cutting across a sunset.
- Headshots and portraits. A doorframe behind the shoulder, a fire extinguisher, the corner of a whiteboard covered in notes.
Notice the common thread: you are deleting clutter from a scene that already exists, not inventing one. That is precisely the task these models handle best.
The tools worth your time
Photoshop’s Remove tool and Generative Fill
Still the quality benchmark, largely because you can work in passes: rough removal first, then a small local fix wherever the model guessed wrong. Generative Fill copes with bigger gaps than the plain Remove tool and offers three variations per click. The catch is the subscription, which stings if you edit a handful of photos a month.
Photopea
If you would rather not pay, Photopea runs in a browser tab and handles the basics well. It has grown into a genuinely capable free retouching tool, and because it mirrors Photoshop’s layout, anything you learn there transfers if you upgrade later.
Canva, Pixelcut, Cleanup.pictures
Single-purpose web tools: brush over the object, wait a couple of seconds, download. Free tiers usually cap you at a modest resolution, which is fine for a social post and useless for a 45-megapixel print.
Video, which is a harder problem
Erasing something across hundreds of frames means the fill has to stay consistent while the camera moves, and ghosting shows up fast. Kapwing’s AI video editing suite handles short clips reasonably well, though a moving subject crossing a detailed background is still a coin flip.
What separates a clean erase from an obvious one
Run the same photo through five different tools and you will get five different results. The differences show up in the same handful of places every time.
- Straight lines. Fence rails, kerbs, window frames, floorboards. If the software breaks the line, the edit is instantly visible.
- Repeating patterns. Brickwork and tile are where lazy inpainting exposes itself with a visible smudge of duplicate texture.
- Shadows. Remove the object and its shadow stays, leaving a dark patch with no source.
- Reflections. A person erased from a wet street usually leaves a ghost in the puddle.
- Gradients. Clear skies and smooth studio backdrops are unforgiving, because any banding or patchiness reads as damage.
Vendor demos never show you these failures. A model that scores well on a published benchmark can still mangle a picket fence, because benchmarks rarely capture the messy edges of real images. Judge the tool on your own photos, not on the marketing page.
A workflow that saves you repeat passes
Most of the disappointment people feel comes from one bad habit: selecting the entire object in a single confident swipe and accepting the first result. A few small adjustments change the outcome more than switching tools does.
- Duplicate the layer first, so you can compare with a toggle and bail out at any point.
- Select slightly inside the object’s edge rather than well outside it. Overshooting forces the model to invent good pixels unnecessarily.
- Break large removals into pieces. Two or three small selections almost always beat one giant one.
- Check the result at 100 percent zoom, not on the thumbnail.
- Re-add a little noise or grain afterwards. Seamless fills often look plastic because the surrounding photo has texture and the patch does not.
When a reshoot beats a repair
Some images are not worth saving. If the object sits in front of a person’s face, overlaps fine detail like hair or foliage, or occupies more than roughly a fifth of the frame, you will spend longer fixing it than walking back outside with the camera. This is especially true for anything destined for print, where every repair gets magnified.
There is also a hard limit on what the software can recover. If the object blocked the only pixels that ever existed, the result is a guess. A good guess, increasingly, but still a guess.
Where removing an object crosses a line
The technology is neutral. The intent is not, and a few situations deserve a second thought before you hit the button.
Photojournalism and documentary work have essentially zero tolerance for it, which is why agencies require original files from the camera. Insurance claims, property listings and marketplace sales are trickier, because deleting a crack, a damp patch or a missing tile is not retouching, it is misrepresentation. Competition rules in photography usually ban object removal outright, even when the alteration is invisible to a judge.
A practical test I use: would the person looking at this image make a different decision if they saw the original? If the answer is yes, put the clone stamp down and leave the red rain jacket where it is.