

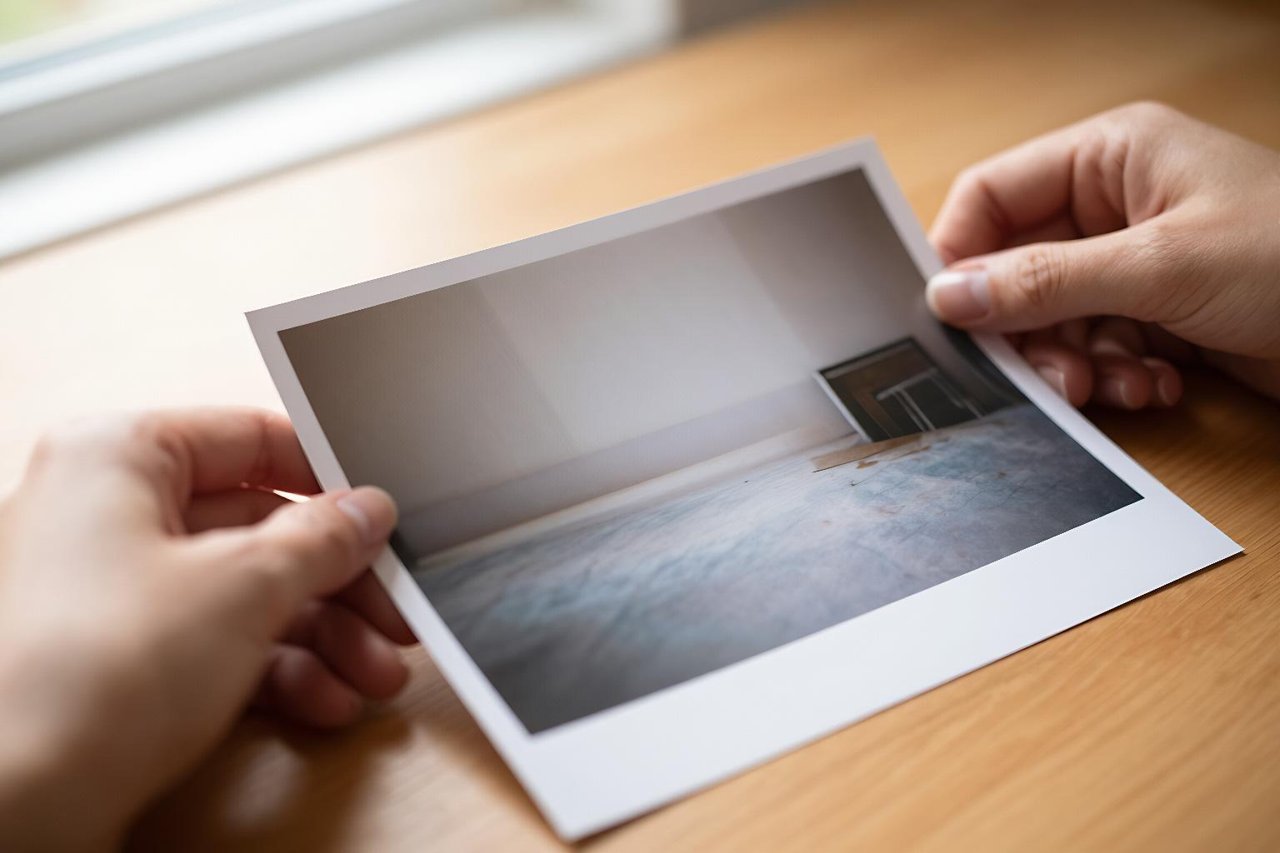
A wedding photo from 2011, shot on a 5-megapixel compact, blown up to 8×10 for a frame. It’s soft, the shadows are grainy, and there’s purple fringing along the edge of the bride’s veil. Fifteen years ago the only real fix was a professional drum scan and a lot of money. Now you can drop it into an AI photo enhancer, wait about nine seconds, and get something that looks like it came off a modern phone.
That’s the promise. The reality is more uneven, and knowing which half of the promise you’re actually getting is the difference between a print you hang on the wall and one you quietly delete.
What an AI photo enhancer is actually doing
Every tool in this category is doing some combination of four jobs. It helps to know which one you’re asking for, because they fail in completely different ways.
Upscaling
A model trained on millions of low-resolution and high-resolution pairs learns what plausible detail looks like at higher pixel counts. A 4× upscale turns an 800 × 600 crop into 3,200 × 2,400. Those pixels are new. The information behind them is inferred, not recovered. Nobody recovered your subject’s actual eyelashes; the model drew eyelashes that fit the pattern.
Denoising and sharpening
This is the part that genuinely works well. Grain from an ISO 6400 shot, motion blur from a 1/15s shutter, compression mush from a photo sent through three messaging apps: modern models handle all of it. Adobe’s Denoise in Lightroom runs locally on RAW files and will clean up a high-ISO frame without the waxy, plastic look that older tools produced.
Face restoration
The riskiest job of the four. The model finds eyes, nose and mouth, then rebuilds them from a learned template of what faces look like. It can pull a recognisable portrait out of a 200-pixel blur, which feels like magic. It can also hand your grandmother someone else’s cheekbones, and you won’t notice until your aunt points it out at dinner.
Where these tools earn their keep
Specific cases where an AI image upscaler is worth the click:
- Printing a small original. A 2013 phone photo is fine on a 4×6 and ugly on a 12×18. A 3× or 4× pass gives you enough pixels for the bigger frame.
- Scanned family prints. Flatbed scans at 600 dpi of a 1970s photo come out soft and slightly noisy. Denoise, then upscale, and the result prints beautifully.
- Marketplace listings. A 1,200-pixel product shot looks amateur next to competitors’ 3,000-pixel images. Upscale it and the thumbnails stop looking fuzzy on a phone screen.
- Tight crops. Pulling a head-and-shoulders portrait out of a wide group shot leaves you with maybe 400 pixels of face. This is exactly the scenario enhancement was built for.
Where they quietly make things worse
Three failure zones are worth memorising.
Text and signage. Models are trained on faces and nature far more than on typography. Street signs, book spines and T-shirt lettering often come back as convincing-looking gibberish, which is worse than the blur you started with.
Fine repeating patterns. Fabric weave, brickwork, chain-link fences, knits. The model can’t decide what the pattern is, so it invents a new one. Zoom to 100% and a checked shirt becomes a slightly different checked shirt.
Skin. Push the strength slider past about 60% and pores, freckles and stubble disappear. You get the airbrushed look of a 2010 magazine cover. If the person in the photo has a beard, check it survived the process.
Free tiers versus paid tools
Most web-based enhancers let you upload for free and then charge you to download. In between, you get one of four compromises: a watermark, a compressed preview, a 2× cap instead of 4×, or a queue that makes you wait ninety seconds per image. That’s a workable business model, but it means the free version you tested isn’t the file you’d actually use.
If you only need a handful of images a month, the free route is fine. Our breakdown of what real free AI tools can do and what they can’t covers the pattern across these apps, and it holds true for photo enhancement as much as for image generation. For volume work, two options make sense: a subscription to a service like Topaz Photo AI or Let’s Enhance, or a free open-source tool like Upscayl that runs entirely on your own GPU with no upload and no limits.
A workflow that keeps you out of trouble
Order of operations matters more than which app you pick. Do these in sequence and you’ll avoid most of the artefacts people complain about.
- Work on a copy. Keep the original file untouched, always.
- Fix exposure and white balance first. Enhancing a badly exposed image just bakes the problem in at higher resolution.
- Denoise before you upscale. Upscaling noise amplifies it, and the model may mistake grain for texture and sharpen it.
- Upscale once. Running 2× three times in a row stacks three sets of invented detail. Do a single 4× pass instead.
- Sharpen last, and lightly. A small amount of output sharpening after upscaling is fine. Heavy sharpening on top of a model’s own edge work creates halos.
- Export at 300 ppi for print and check the actual pixel dimensions before you send it to a lab.
Your phone already ran an enhancer on that file
Worth remembering before you spend twenty minutes fixing something: the photo left your camera already processed. Modern phones stack 9 to 15 frames in under a second, align them, kill noise, lift shadows and sharpen edges before you ever see a preview. Google’s recent push into creator-focused camera features, including the Pixel 11 Creator Suite aimed at influencers and mobile photographers, is an extension of the same idea: more decisions made on-device, fewer left to you.
That matters because over-processing is cumulative. If your phone already sharpened the edges, an aggressive enhancer on top will produce the crunchy, halo-heavy look that screams “edited.” Start with the gentler setting and compare side by side.
How to tell a good result from a bad one
Never judge an enhanced image from the thumbnail. Zoom to 100% and check four things: hair strands against a plain background, teeth, the whites of the eyes, and any fabric texture. Real detail stays coherent when you enlarge it. Invented detail starts repeating, smearing, or drifting in a direction that doesn’t match the light source.
Also verify the file you got back. Some services advertise 4× and quietly return 2×. Check the pixel dimensions in your file info rather than trusting the label.
Uploads, metadata, and who ends up owning the file
Anything you send to a web-based enhancer leaves your machine. That’s fine for a product shot; it’s less fine for a passport photo, a picture of your kids, or a client’s unreleased campaign. Read the retention clause. Some services delete uploads within an hour, others keep them indefinitely, and a few claim broad rights over submitted images in their terms of service.
Strip GPS data before uploading if location matters to you, since most enhancement pipelines pass EXIF straight through to the output file. If the photos are sensitive, use something that runs locally: Upscayl on desktop, Lightroom’s Denoise on RAW, Pixelmator Pro on Mac. Slower, no subscription, and nothing leaves the laptop.
One last thing. Enhancing a photo you didn’t take doesn’t transfer any rights to it. Sharpening a low-resolution stock preview into a 4,000-pixel file doesn’t make it yours, and the licence still applies.