

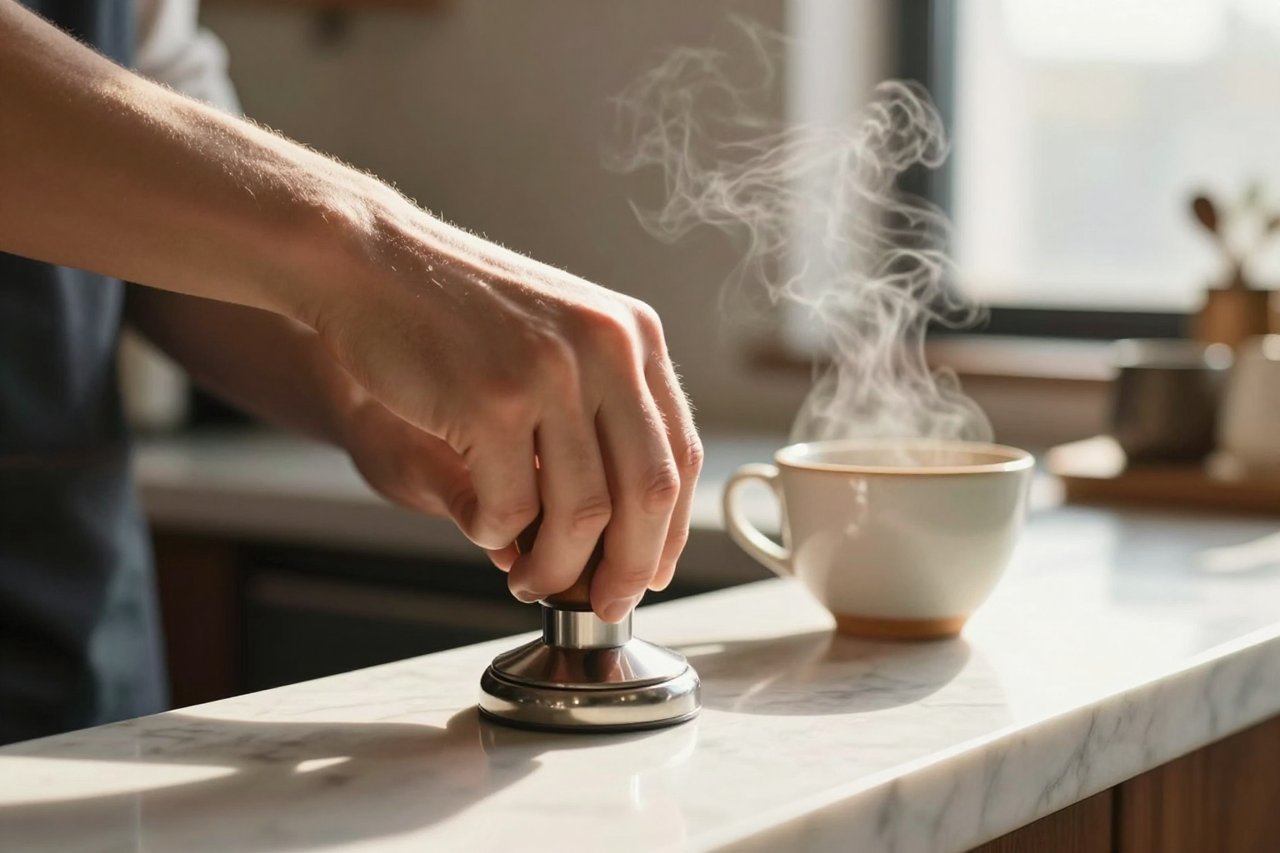
Type “a cozy coffee shop” into ChatGPT and you will get something that looks like a stock photo from 2012: flat grey light, a mug with two handles, chairs that make no physical sense. Nothing is wrong with the model. The problem is the process. Most people type a wish, get a mediocre picture, and either accept it or hit regenerate until they run out of patience.
The people who consistently get usable chat gpt images do something different. They brief, they batch, they edit, they lock a style, and they check the output before it leaves their screen. Five stages, maybe ten minutes once you have done it twice. Here is the whole thing, worked through with a real example.
Step 1: Write a Five-Line Brief Before You Type Anything
ChatGPT fills gaps with averages. Say “nice product photo” and it will produce the most statistically average product photo imaginable, which is another way of saying forgettable. Constraints are what push it toward something specific, so give it five:
- Subject and action: who or what, doing what. “A barista’s hands tamping espresso” beats “coffee” every time.
- Setting: where and when. “Small counter, early morning, empty café before opening.”
- Light: the single biggest quality lever. “Low sun through a side window, warm highlights, soft shadows.”
- Framing: “Close crop, 50mm, shallow depth of field.”
- Style: “Documentary food photography, natural colour, no filters, no text.”
Stitched together for a coffee subscription brand, that brief reads: A barista’s hands tamping espresso on a small counter in an empty café before opening, low morning sun through a side window with warm highlights and soft shadows, close 50mm crop with shallow depth of field, documentary food photography, natural colour, no filters, no text. That is about 45 words and it will outperform an essay of vague adjectives. If you want the underlying mechanics of how the generator reads that kind of description, the complete guide to generating images inside ChatGPT goes deeper into it.
Step 2: Generate Four Variations and Expect to Delete Three
Ask for four images, not one. Variety costs you nothing and teaches you something: after a dozen generations you start to notice which words are actually doing work. If every version gets the same strange blur on the left side, that word is the culprit, not the model.
Use the thumbnail test before you fall in love
Shrink all four down to phone-screen size. The subject should still read instantly. If you cannot tell what the image is about at 200 pixels wide, it will not work as a blog header, an ad, or a social post, and no amount of retouching rescues it. Pick the one that survives the shrink, not the one with the prettiest detail when zoomed in.
Step 3: Edit the Winner Instead of Starting Over
Regenerating a near-miss throws away everything you liked. Editing keeps it. This is the stage most people skip, and it is where chat gpt images go from “close enough” to “that is exactly right.”
Give one instruction per turn and keep the rest locked. Real examples that work:
- “Keep this image exactly as it is, but make the window light warmer and lift the shadow under the cup.”
- “Remove the second chair on the right and leave the background clean.”
- “Reframe slightly wider so there is empty space on the left for a headline.”
Short, single-change requests get honoured far more often than a paragraph of five corrections at once. If you have not used the editing features yet, how to generate and edit images until you get the shot you want walks through them properly.
Step 4: Lock the Look With a Saved Style Block
Once a prompt lands, the tail end of it becomes your house style. Copy it into a notes file and reuse it for every image in the set. Something like:
Documentary photography, natural colour, soft directional light, no filters, no text, no logos, 16:9.
Now every image you produce for that project shares light, colour and framing, which matters more than any single frame being brilliant. Three consistent images beat three beautiful strangers. This habit of reusing a prompt skeleton is the core idea behind prompt workflows that produce repeatable results, and it saves a surprising amount of fiddling on the second and third project.
Step 5: Reality-Check Before It Leaves Your Screen
AI images fail in predictable places. Run this list every time:
- Hands and fingers: count them. Look for extra knuckles or a thumb in the wrong place.
- Text, signs and logos: any lettering the model invents will be gibberish, so never ask for words inside the image. Add real type in Canva or Figma afterwards.
- Reflections and shadows: do they point the same direction as the light source you described?
- Repeating objects: the same chair, cup or leaf cloned three times in a row.
- Aspect ratio and resolution: check it matches where it is going before you build a layout around it.
Ninety seconds here saves a client email that starts with “quick thing.”
One Hero Image, Start to Finish
Back to the coffee subscription. I ran the five-line brief, got four options, and three were duds: one had a floating saucer, one looked like an advert from 1998, one had great light but the hands were wrong. The fourth had soft window light and a clean counter, but the composition was too centred and the shadow under the cup was muddy.
Three edits later it was the hero image. First I asked to keep everything and warm the window light. Then I asked to shift the subject to the right, leaving negative space on the left. Finally I asked for a slightly wider crop in 16:9. Total time from blank chat window to finished file: about seven minutes. The headline went on afterwards in a design tool, because asking the model for readable text is a losing game.
Three Habits That Cost You an Hour a Week
Stacking adjectives. “Beautiful, stunning, cinematic, ultra-detailed, 8K” adds noise, not quality. Pick one style word and spend your remaining effort on light and framing.
Regenerating instead of editing. If 80% of the image is right, that is a win. Fix the remaining 20% with instructions.
Asking for real things. Specific logos, real people, exact product packaging and accurate diagrams are all jobs for a camera or a designer.
Where Chat GPT Images Fit in a Real Workflow
These tools are excellent as a fast first-draft machine. Moodboards, blog headers, social graphics, presentation visuals, quick concept frames to show a client before you shoot anything for real. They are a poor substitute for final product photography, brand-accurate packaging, or anything that will be scrutinised at print size.
It also helps to know which assistant you are talking to. Image quality, editing controls and speed vary noticeably between platforms, and the differences are worth understanding before you standardise on one. A rundown of the best AI chatbots worth your time in 2025 is a decent place to compare them side by side.
Treat every generation as a rough draft you fully intend to improve, and the frustration disappears. The output stops being a lottery ticket and starts being a raw material you can shape in a few short turns. That shift, more than any magic phrase, is what separates a folder of throwaways from images you would happily put in front of a client.