

You have a client who wants a mascot for a campaign. The first FLUX render looks great. The second one gives the mascot a different jacket, a wrong nose, and a background that belongs in a different decade. That gap between a lucky prompt and a repeatable process is where most people get stuck.
FLUX is a text-to-image model from Black Forest Labs, and it can produce some of the most photorealistic results available. The model itself is impressive. Your workflow is what makes it useful. This guide walks through a real, step-by-step process for getting consistent, professional images out of FLUX, with concrete examples you can copy and adapt.
Step 1: Set Up a Test Bench Before You Prompt
Before you write a single prompt, decide where FLUX will run. You have three main options: a hosted playground, an API, or a local install. For serious work, local gives you control over seeds, LoRAs, and batch size without paying per image. The node-based editor ComfyUI Explained: The Node-Based Image Generator Worth Learning is the most flexible local option, and it plays nicely with FLUX.
Set up a project folder on day one. Something like /projects/flux/hiking-boot/ with subfolders for drafts, finals, and references. This sounds boring until you have 300 images and no idea which seed made the one the client loved.
Pick the Right FLUX Variant
- FLUX.1 [pro] – best quality, API only, pay per image. Use it for final hero shots when you do not have a capable GPU.
- FLUX.1 [dev] – open weights, non-commercial license, 20–30 steps. Great for iteration if you have 12GB+ VRAM.
- FLUX.1 [schnell] – fast, 1–4 steps, Apache 2.0. Perfect for composition tests and thumbnails.
Here is a practical split: run schnell at 4 steps to test 20 prompt variations in a few minutes. When one composition works, switch to dev at 28 steps and the same seed for the final render. That saves hours.
Step 2: Write Prompts That FLUX Actually Follows
FLUX responds best to natural, descriptive language. It is not Stable Diffusion 1.5. You do not need a pile of comma-separated tags like ‘masterpiece, best quality, 8k, trending on artstation.’ In fact, that kind of prompt often makes results worse because it competes with your real subject.
Think of it as describing a photograph to a photographer. You would not say ‘woman, red dress, 8k, bokeh.’ You would say ‘a woman in a red linen dress standing on a stone balcony at sunset, warm light on her face, shot on a 85mm lens with the city slightly out of focus behind her.’
The 5-Part Prompt Formula
Use this structure for almost any FLUX prompt:
- Subject + identity details: age, hair, clothing, distinguishing features.
- Action or pose: what the subject is doing, where the hands are, expression.
- Environment + time of day: location, weather, light direction.
- Camera + lens + lighting: 35mm, 50mm, f/1.8, softbox, window light.
- Style + mood: documentary, editorial, film grain, muted palette.
Example: ‘A 45-year-old baker with flour on his apron, laughing as he pulls a tray of sourdough from a brick oven, morning light streaming through a dusty window, shot on a 50mm f/1.8, shallow depth of field, warm documentary style.’ That is 47 words. It gives FLUX enough to work with without overloading it.
Three Prompt Fixes for Common FLUX Problems
Extra fingers or strange hands: FLUX is better than most, but hands still trip it up. Add ‘hands resting on hips, fingers relaxed’ or crop the hands out of frame. If a hand is critical, plan to inpaint it later.
Plastic skin: add ‘natural skin texture, visible pores, subtle film grain.’ Avoid ‘smooth skin’ unless you want a beauty-retouch look.
Gibberish text: do not ask FLUX to generate readable words. It will not. Add text in Photoshop, Figma, or Canva after the image is done. If a scene needs a sign, describe the sign’s shape and color, then composite the text.
Step 3: Lock a Character Across Multiple Images
Consistency is the hardest part of AI image generation. A fixed seed helps with composition, but it does not guarantee the same face. Here is a process that works for a 10–20 image set.
- Generate a character sheet: prompt for ‘front view, side view, and back view of a 30-year-old female astronaut, white suit with orange stripes, neutral gray background, studio lighting.’ Batch 8. Pick the face you like and save the seed.
- Create an identity block: write 25–40 words that describe the character’s face and clothing. Example: ‘same woman, oval face, short black hair, small scar above left eyebrow, white suit with orange stripes.’ Paste this block into every new prompt.
- Use the same seed for the first pass: it will not lock the face, but it keeps lighting and composition similar. Then fix drift with inpainting.
- Inpaint the face when it drifts: in ComfyUI, mask the face area and run a low-denoise pass with the identity block. This is faster than regenerating the whole image.
- Train a LoRA for 50+ shots: if you need a full campaign, 20–30 curated images and a LoRA will give you far better consistency than prompt engineering alone.
Expect about one in five images to be usable on a good day. That is normal. Budget for it.
Step 4: Build a Repeatable Workflow in ComfyUI
A basic FLUX workflow in ComfyUI has six nodes: Load Checkpoint, CLIP Text Encode (positive prompt), Empty Latent Image, KSampler, VAE Decode, and Save Image. Set the KSampler to 28 steps, CFG 3.5, sampler euler, scheduler normal for FLUX.1 [dev]. For schnell, use 4 steps and CFG 1.0.
Once that works, add control. A LoRA Loader lets you apply a style or character. ControlNet with a depth map keeps a product’s shape. IP-Adapter or FLUX Redux lets you feed in a reference image and ask for variations. If you want a chat-style interface for reusable prompt templates, the step-by-step guide to Poe bots, prompts, and real workflows shows how to chain prompts without writing code.
Concrete example: you need a product shot of a specific bottle. Use ControlNet depth to lock the bottle shape. Prompt: ‘A matte black water bottle on a wet slate surface, morning mist, soft side light, 85mm lens, commercial product photography.’ The depth map keeps the bottle from morphing into a different shape while FLUX handles the environment.
Step 5: Upscale and Polish Without Losing the Look
FLUX outputs at 1024×1024 by default, and you can push to 1280×768 or 832×1216 for different aspect ratios. For print or large web banners, you will need to upscale. Use Ultimate SD Upscale or SUPIR in ComfyUI. A 4x upscale from 1024 gives you 4096 pixels, which is about 13.6 inches at 300 DPI.
Two rules: upscale before you add grain, and fix hands before you upscale. Grain amplifies artifacts. Sharpening after upscale can make skin look crunchy. A light pass of noise reduction and a subtle film grain overlay at the end usually looks more natural than a heavy sharpen.
Step 6: Batch, Review, and Iterate Like a Pro
Generate in batches of 8–12, then review in a grid. Name every file with the prompt version and seed: hiking-boot_v3_seed8842_001.png. Keep a simple spreadsheet with columns for seed, prompt, steps, CFG, and a 1–5 rating. After 100 images, you will start to see which words actually move the result.
Here is a quality checklist before you send anything to a client:
- Hands and eyes look natural at 100% zoom.
- No accidental text, logos, or watermarks.
- Perspective and shadows match the light source.
- Colors match the brand palette.
- Resolution and noise level fit the final use.
A Real Example: From Brief to Final Image
Client brief: ‘We need a hero image for a hiking boot launch. Rugged, misty mountain, 35mm film look.’
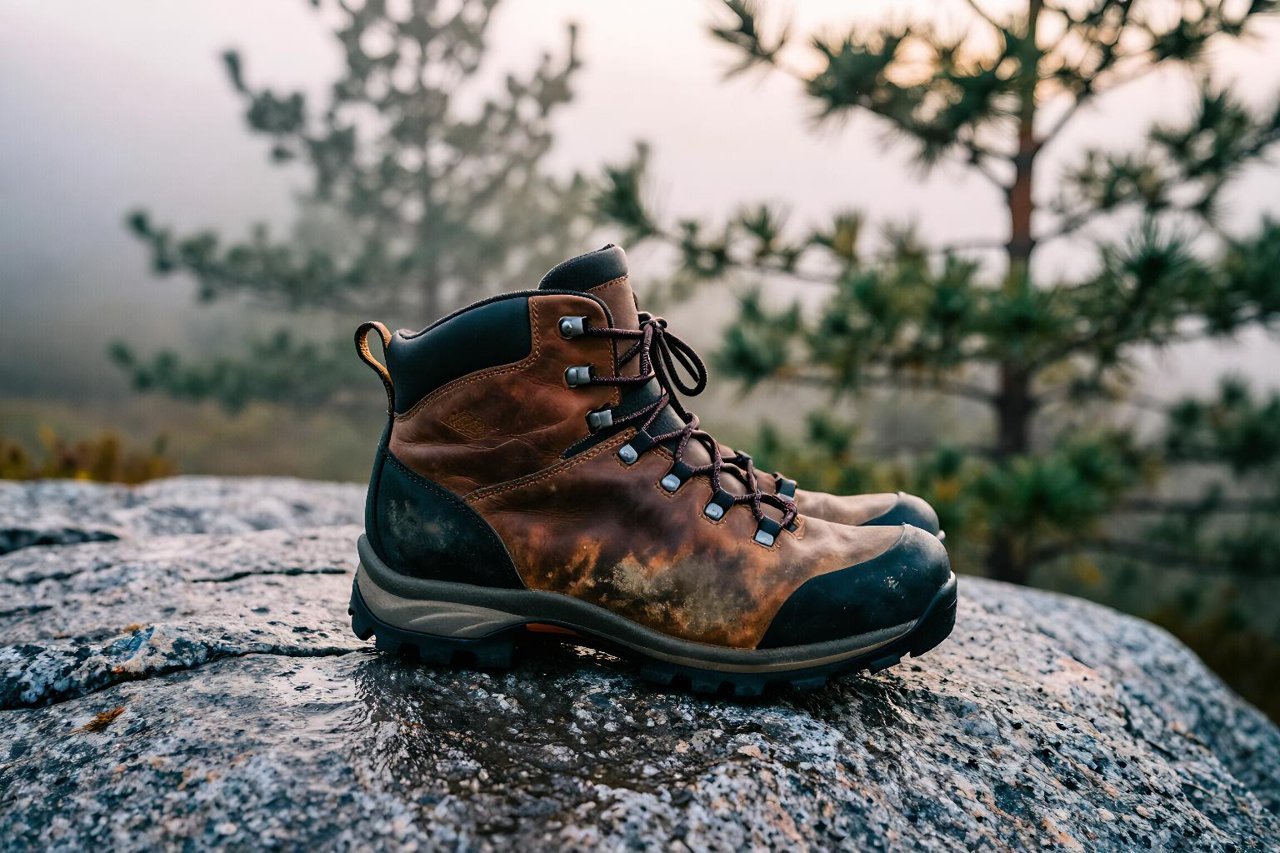
1. Draft with schnell. Prompt: ‘A worn leather hiking boot on a wet granite rock, misty pine forest behind, early morning, 35mm film, slight grain, muted greens and browns.’ 4 steps, 1024×1024, batch 8. Pick image #3.
2. Refine with dev. Use the same seed, 28 steps, CFG 3.5. Add ‘no text, no logos.’ The composition stays, the detail improves.
3. Fix a weird lace. Mask the lace in ComfyUI, prompt ‘leather lace, consistent with boot,’ denoise 0.4. One pass.
4. Upscale and crop. 4x to 4096, then crop to 16:9 for the web banner and 1:1 for Instagram. Total time: about 25 minutes.
That is the difference between a lucky render and a repeatable process. You are not just prompting. You are managing a small production pipeline.
Keep a Prompt Library That Actually Helps
Start a text file or Notion page for prompts that worked. Organize by category: lighting, camera, skin texture, product, landscape. When you find a phrase that consistently improves results, save it with a note about which FLUX variant and settings you used.
Over time, your library becomes the most valuable asset in your workflow. Models change. FLUX.2 will arrive. Your tested prompt patterns and pipeline notes will still save you hours. If your final deliverable is a talking presenter rather than a still image, tools like Tavus’ AI looks, listens, and talks back live pick up where a FLUX portrait leaves off, but the same rule applies: build a repeatable process, not a one-off trick.
Pick one small project this week. A single character, 10 images, one style. Run the steps above. You will learn more from that than from 100 random prompts.