

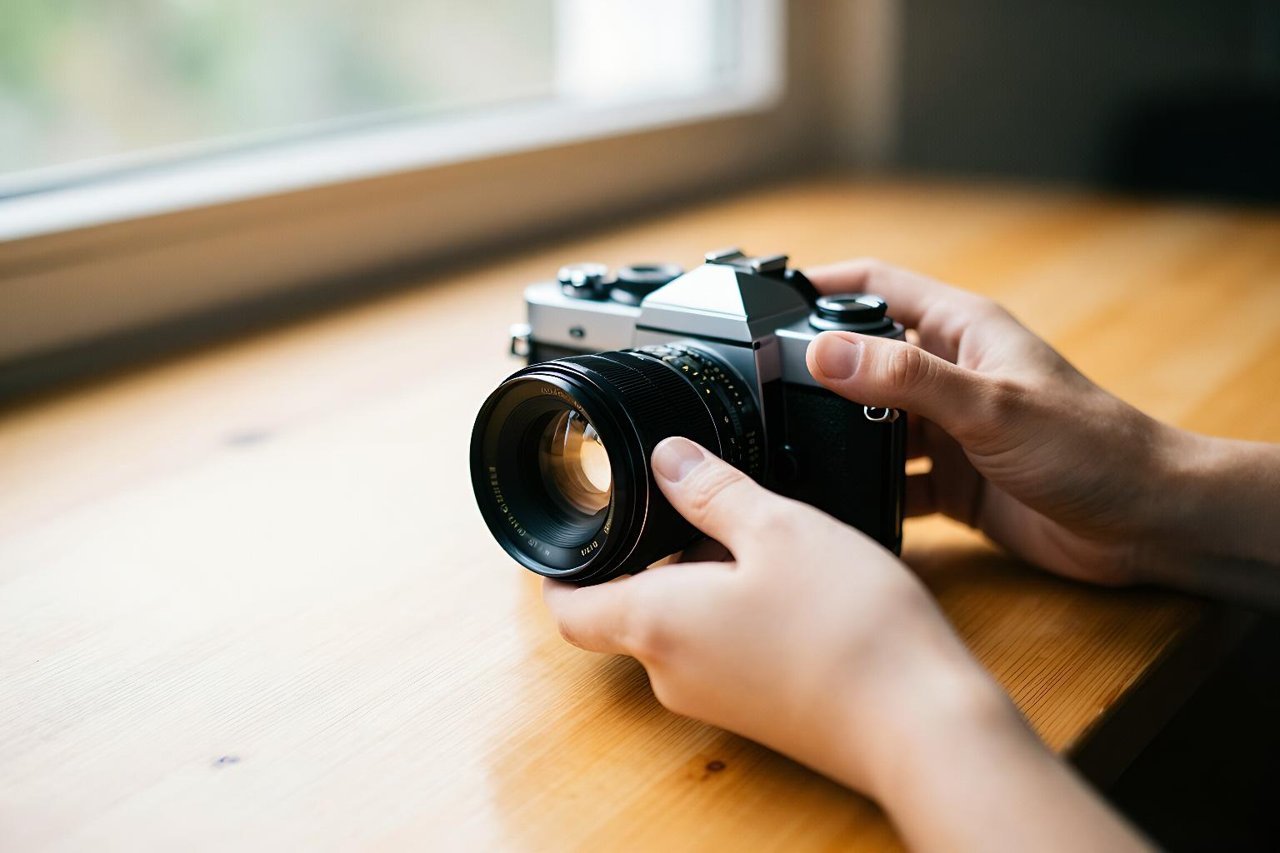
Most people’s first encounter with Imagen AI goes something like this: they type “a dragon on a mountain,” hit generate, and get something that looks like a cheap video game cutscene. Then they assume the tool isn’t that good. The truth is Imagen is capable of near-photographic results, but only if you stop treating it like a search engine and start treating it like a camera with a very literal-minded assistant behind it.
This guide is a practical walkthrough. You’ll see exactly how to go from a vague idea to a polished image in a handful of steps, with concrete prompt examples you can adapt. No abstract theory, just what works.
Step 1: Describe a Scene, Not a Concept
Imagen AI doesn’t guess. If you ask for “happiness,” you’ll get a stock-photo smile. If you ask for “a woman laughing on a park bench, golden hour, 85mm lens, shallow depth of field, warm tones,” you’ll get something you could actually use.
The difference is specificity. Start every prompt with a clear subject, then add environment, lighting, and camera language. For example:
- Weak: “a dog”
- Strong: “a border collie mid-run on a sandy beach, side profile, overcast light, motion blur on paws, shot on 200mm lens”
- Weak: “a city at night”
- Strong: “a rain-slicked Tokyo alley at night, neon reflections in puddles, low angle, cinematic, 35mm film grain”
If you want to understand why Imagen handles this kind of detail better than many earlier models, the photorealism work behind it is worth a look. You can read a clear breakdown of Imagen AI’s photorealism breakthrough to see what the model is actually optimising for.
Step 2: Use the Five-Part Prompt Formula
After a few hundred generations, a pattern emerges. The prompts that work almost always contain five elements. Miss one and the image feels flat.
1. Subject
Be precise about who or what. “An elderly fisherman” is better than “a person.” Add age, clothing, expression, action.
2. Setting
Where is this happening? Indoor, outdoor, time of day, weather. “A cluttered workshop” beats “inside.”
3. Lighting
Lighting is the single biggest lever for realism. Words like “soft window light,” “hard noon sun,” “candlelit,” “backlit,” or “overcast” change everything.
4. Camera and lens
Mention focal length (“50mm,” “85mm”), aperture (“f/1.8”), and angle (“low angle,” “bird’s-eye”). This tells Imagen how to simulate depth and perspective.
5. Mood or detail
Add one or two texture words: “film grain,” “matte finish,” “slight vignette,” “dust in the air.” These tiny cues push the result away from the uncanny valley.
Here’s a full example that uses all five: “A young woman in a wool coat reading a letter on a park bench, autumn leaves scattered around, soft late-afternoon light, 85mm f/1.4, shallow depth of field, nostalgic mood, subtle film grain.”
Step 3: Lock in Aspect Ratio and Composition
Imagen AI respects aspect ratio requests. If you need a wide banner, say “16:9.” For a portrait, “4:5” or “9:16.” For square social posts, “1:1.” Getting this right before you generate saves you from awkward crops later.
Composition cues work too. “Close-up” versus “wide shot” changes the entire feel. “Rule of thirds” or “centered subject” gives you a starting point for framing. If you’re building a series of images, keep these cues consistent so the set looks intentional.
Step 4: Iterate in Small, Controlled Steps
One of the biggest mistakes is changing everything at once. Generate a base image, then adjust one variable per round. Here’s a real sequence from a recent project:
- Round 1: “a ceramic coffee cup on a wooden table, morning light” → decent, but flat.
- Round 2: Add “steam rising, backlit by window, shallow depth of field” → much better.
- Round 3: Change “wooden table” to “rough-hewn oak table with visible grain” → texture improved.
- Round 4: Add “85mm lens, f/2.0, slight vignette” → final image looked like a product shot.
Four rounds, each one a small tweak. That’s how you find the sweet spot instead of rolling the dice over and over.
If you prefer a more structured approach to working with Google’s AI tools, this 6-step workflow for AI Google answers translates surprisingly well to image generation: define the goal, gather references, draft, test, refine, and document what worked.
Step 5: Know When to Move Beyond a Single Prompt
Imagen AI is brilliant at one-off images. But if you need a consistent character across ten scenes, or you want to combine generated elements with custom code, a single prompt won’t cut it. That’s when you move to a tool like AI Studio, where you can script generations, apply the same seed or style, and build a repeatable pipeline.
For a hands-on starting point, this afternoon project in AI Studio walks you through building a small image generator with Imagen under the hood. It’s a good next step once you’ve mastered the prompt basics.
Step 6: Spot and Fix Common Realism Breakers
Even great prompts produce occasional glitches. Run through this checklist before you call an image done:
- Hands and fingers: Count them. Look for extra joints or melted shapes.
- Text: Any letters or numbers will likely be gibberish. If text matters, add it in post-production.
- Reflections and shadows: Check that reflections make sense and shadows fall in the right direction.
- Background details: Zoom in. Blurry faces in crowds or floating objects are common.
- Symmetry: Architecture and faces can drift. If it looks slightly off, regenerate with “symmetrical” in the prompt.
When you find a flaw, don’t throw the whole image away. Adjust one word and regenerate. Often “soft light” becomes “soft diffused light” and the problem disappears.
Step 7: Generate Responsibly
Imagen AI can create photorealistic images of people who don’t exist, which is powerful and a little dangerous. A few ground rules keep you out of trouble: never generate a realistic likeness of a real person without consent, avoid creating misleading images of events that didn’t happen, and be transparent when you share AI-generated content. If you’re building something public-facing, the principles in this guide to building ethical AI systems are worth reading before you ship.
Respect copyright, too. Imagen’s training data and output policies are designed to reduce infringement, but you’re still responsible for how you use the images. Commercial use? Check the current terms.
Your Next 30 Minutes with Imagen AI
Pick one object in the room you’re in right now. It could be a plant, a mug, a pair of shoes. Set a timer for 30 minutes and run this exact exercise:
- Write a five-part prompt using the formula above.
- Generate four images. Pick the strongest one.
- Change only the lighting description. Generate four more.
- Change only the camera angle. Generate four more.
- Take your best result and add one texture word, like “film grain” or “matte.”
By the end, you’ll have a dozen images and a clear sense of which words move the needle. That’s the real skill with Imagen AI: not memorising magic phrases, but learning how to see like a photographer and describe like a director. Do this once a week for a month and you’ll stop getting lucky and start getting consistent.