

Stable Diffusion will hand you a cat with three ears on your first attempt. That’s not failure, it’s the starting point. The model only knows what your prompt and your settings imply, and the distance between those two things is where most people stall out and give up.
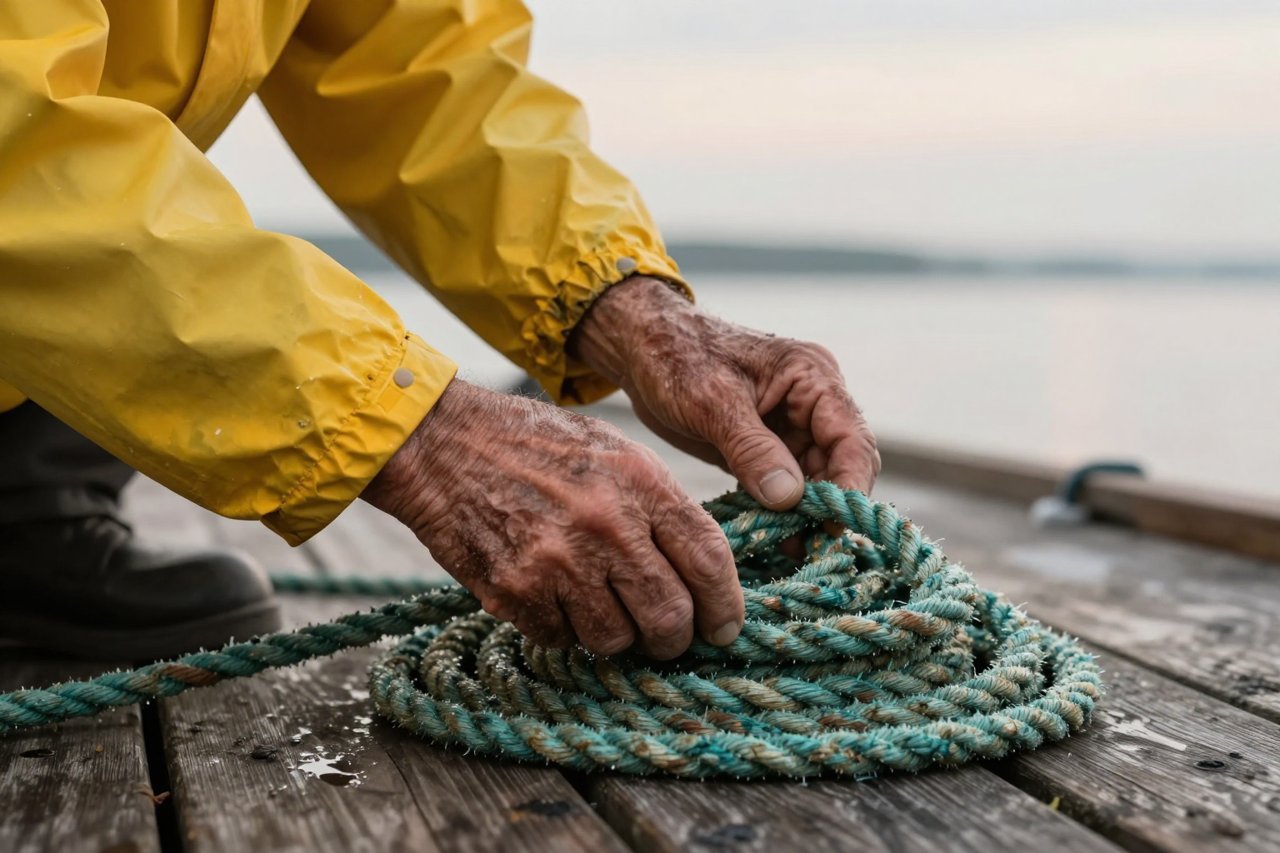
What follows is the exact sequence I use to go from a fresh install to a finished 1024-pixel image in well under an hour. We’ll build one specific thing along the way: a portrait of an elderly fisherman standing on a dock at dawn, sharp enough to print.
Pick your route before you download anything
There are three sane ways in, and the right one depends on your hardware.
- Local install with Automatic1111 or ComfyUI. You’ll want around 6 GB of VRAM for SD 1.5 and 10–12 GB to run SDXL without crawling. Free, private, and you get access to every extension ever written.
- A hosted API. No GPU at all. If you’re comfortable with a bit of code, running AI models through Replicate from your own app takes about fifteen minutes and scales to hundreds of images.
- A browser tool. Zero setup, fewer knobs. A five-step Playground AI walkthrough is a reasonable way to learn the vocabulary before you commit to a local build.
If you own a modern NVIDIA card, go local. Everything below assumes ComfyUI or Automatic1111, but the concepts transfer to any of them.
Step 1: Grab the right checkpoint
A checkpoint is the model’s actual weights, and it decides more about your output than any prompt you’ll write. Three of them cover most needs in 2025:
- SD 1.5 — 2 GB pruned, fast, thousands of community fine-tunes. Best for style-specific work.
- SDXL — about 6.5 GB, native 1024×1024, far better hands and text. The default choice now.
- SD 3.5 — heavier again, strongest prompt adherence of the three.
Download from Hugging Face for the base models or Civitai for photorealistic fine-tunes, and drop the .safetensors file into your models folder. Skip anything distributed as a .ckpt from an unknown uploader; those files can execute code. The whole ecosystem exists because of the open-source release that reshaped AI art, and that openness is also why you should check where your weights came from.
Step 2: Write a prompt like a photographer, not a poet
Vague prompts produce vague images. The fastest upgrade is to describe a photograph rather than a wish.
Here’s the weak version:
old fisherman, beautiful, masterpiece, 8k, trending on artstation
And here’s the one that actually works:
portrait of a weathered 70-year-old fisherman, salt-crusted grey beard, yellow rain slicker, standing on a wooden dock at dawn, flat diffused overcast light, shot on an 85mm lens at f/1.8, shallow depth of field, muted documentary photography, fine skin texture
The difference is specificity in four slots: subject, setting, lighting, and camera. Fill all four and you’ve solved 80% of bad generations.
Then the negative prompt does the cleanup. A reliable baseline for photoreal work:
blurry, lowres, deformed hands, extra fingers, watermark, signature, plastic skin, oversaturated, cartoon, jpeg artifacts
One technical note that trips people up: CLIP reads prompts in 75-token chunks. Past that, words can bleed or get ignored. Front-load the things that matter most, and don’t burn 200 words on adjectives.
Step 3: The four settings that actually change the image
Sampling steps
20 to 30 for most samplers. Going to 80 rarely helps and doubles your render time. Beyond roughly 40 steps you’re paying for noise, not detail.
CFG scale
This is how hard the model listens to your prompt. At 7 you get a natural balance. Push to 14 and you’ll see blown-out colour and mangled anatomy; drop to 3 and the model mostly ignores you. Start at 7, adjust by one or two at a time.
Sampler
DPM++ 2M Karras is the workhorse for realistic output. Euler a gives noisier, more textured results that some people prefer for illustration. Pick one, learn it, ignore the rest for now.
Seed
Set a fixed seed and the same prompt produces the same image every time. That’s the single most useful trick in the entire tool. Change one word, keep the seed, and you can see exactly what that word did.
A starting configuration for the fisherman shot:
- Resolution: 1024×1024 (SDXL) or 512×768 (SD 1.5)
- Steps: 28
- CFG: 6.5
- Sampler: DPM++ 2M Karras
- Seed: 448219 (any fixed number)
Step 4: Fix whatever comes out wrong
Your first render will be 90% right and 10% terrifying, usually around the hands and eyes. Don’t regenerate the whole thing. Use inpainting: paint a mask over the botched area, keep the original prompt, and let the model redraw just that patch. It takes about twenty seconds and preserves everything you liked.
For soft or undersized results, run a hires fix pass — upscale by 1.5× with a denoise strength around 0.45. Anything above 0.6 and the model starts inventing new details that don’t match the original. Below 0.3 and you get a bigger version of the same blur.
If a pose is wrong, don’t fight it with words. ControlNet’s OpenPose model lets you feed in a stick-figure reference and lock the skeleton in place. Depth and canny models do the same for composition and edges.
Step 5: Save the workflow, not just the image
Automatic1111 embeds your full prompt and settings inside every PNG’s metadata. Drag a finished image back into the interface and it restores every slider. ComfyUI stores the same information as a JSON graph you can reload later. Keep those files. The image is the output; the workflow is the asset you’ll reuse for the next fifty jobs.
Two habits worth building early: name your seeds in a text file alongside what they produced, and save every prompt you liked into a snippets document. After a month you’ll have a personal library that beats any prompt-sharing site.
Turn one good image into a set
The fisherman took a single render. A series takes a system. Lock the seed, then vary one element per batch — swap dawn for dusk, trade the yellow slicker for a navy jumper, change 85mm to 35mm. Generate six variations, keep the two strongest, and upscale those at 1.5× before delivery. That’s how stock illustrations, character sheets, and mood boards get made without rethinking the prompt from scratch every time.
Once the image pipeline is predictable, extending it is straightforward. Train a LoRA on twenty photos of a specific face and the model will hold that identity across every render. Wire the whole thing behind an API and it becomes a feature in a product — the same infrastructure that carried Stability AI’s $76 million funding round from research demo to commercial platform. If your project needs sound to go with the pictures, the same text-to-asset logic applies to generating a soundtrack from a text prompt.
Start with the fisherman. Change the seed, change one word, and watch what moves. That feedback loop, more than any setting, is what makes Stable Diffusion stop feeling random.