

You installed Stable Diffusion, typed a sentence into the box, and got back something with six fingers and a face like melted wax. Everyone does. The gap between a forgettable render and a genuinely usable image is rarely the model itself — it’s the order you do things in.
What follows is a working sequence you can run today, with actual numbers and one running example. If you’d rather understand the machinery first, our plain-English guide to how Stable Diffusion generates images covers the denoising process underneath all of this.
Step 1: Choose your interface before you choose a model
Three options cover almost everyone. Pick based on how much control you actually want, not on what has the biggest subreddit.
- Fooocus — around a dozen controls, sensible defaults, and it hides the sampler and CFG settings entirely. If you want results in ten minutes rather than ten hours, Fooocus is the low-friction starting point.
- Automatic1111 — the classic web UI. Still the fastest way to learn inpainting, img2img and ControlNet because the controls are laid out in a single scrolling page.
- ComfyUI — a node graph where you wire the sampler, the VAE and the text encoders together yourself. Steeper, but it’s the only one of the three that lets you reuse a workflow as a reproducible file, which matters once you stop experimenting and start producing.
Starting fresh? Use Fooocus. Once you find yourself wanting to fix a specific hand without regenerating the whole image, move to Automatic1111. When you want the same pipeline to run on fifty images unattended, that’s the moment a node-based ComfyUI graph starts earning its learning curve.
Step 2: Nail the three numbers that wreck most first renders
Before touching the prompt, set the boring stuff. These are the settings that cause blurry, over-baked or doubled-up output.
Resolution. Match the model, not your monitor. SD 1.5 models were trained at 512×512 and SDXL at 1024×1024. Asking SD 1.5 for a 1024×1024 portrait gives you two heads or a stretched face. Generate at native size, then upscale.
Steps. 20 to 30 is the useful range. Past 40 you’re paying seconds for invisible changes. Below 15, the image hasn’t finished forming.
CFG scale. This is how literally the model obeys your prompt. Around 7 works well for SD 1.5 photorealism; SDXL is happier between 4 and 6. Crank it to 15 and you get fried colours and crushed shadows. Drop it to 2 and you get a soft, dreamy image that ignores half of what you wrote.
For the sampler, DPM++ 2M Karras is a safe default that behaves predictably across almost every checkpoint you’ll download.
Step 3: Write prompts in layers, not sentences
Stable Diffusion doesn’t read grammar, it reads concepts and how strongly they fire together. So build the prompt in bands.
Layer one: the subject and the action
Say what is happening, concretely. “A fisherman mending a net” beats “a fisherman” because the pose is implied.
Layer two: the light and the lens
This is where most people leave quality on the table. Adding “golden hour side light, 50mm, shallow depth of field” does more for realism than a page of quality tags. Camera language works because the training data is full of photographs described that way.
A finished prompt might read:
photo of a weathered fisherman mending a net on a harbour wall, golden hour side light, 50mm lens, shallow depth of field, salt spray in the air
Stacking “masterpiece, best quality, 8k, ultra detailed” onto the front of that mostly clutters the token budget. Spend the words on the scene instead.
Layer three: the negative prompt
Keep it short and targeted. blurry, watermark, extra fingers, text, deformed hands covers a lot of ground. A negative prompt stuffed with 60 terms starts fighting your subject.
Step 4: Repair problems with inpainting, not rerolling
The face is perfect but the hand has seven fingers. Rerolling with a new seed gives you a different face. Inpainting gives you the same image with a fixed hand.
Paint a mask over the problem area, keep the original prompt, and set denoising strength between 0.4 and 0.55. Too low and nothing changes; too high and you get a brand new hand that doesn’t match the lighting. For a stubborn patch of background, 0.3 is often enough. This single technique accounts for most of the difference between someone who produces usable images and someone who just rerolls until they get lucky.
Step 5: Upscale, then save the recipe
A 512-pixel image isn’t finished. Two routes:
- Hires fix (inside the UI): upscale by 1.5× to 2× with denoising around 0.4. This regenerates detail at the larger size, which is why it produces better skin and fabric than a pure resample.
- Dedicated upscalers like Real-ESRGAN or 4x-UltraSharp: faster, no redrawing, but they can’t invent detail that was never there.
Then write down the recipe. Checkpoint filename, sampler, steps, CFG, seed. A fixed seed with an identical prompt reproduces a near-identical image, which means one lucky render becomes a repeatable asset for a series of blog headers or listing photos. Note the seed before you close the tab — hunting for it later is miserable.
Running this without owning a GPU
None of the above requires a graphics card in your case. A free Colab session gives you an NVIDIA T4 with enough VRAM for SD 1.5 at 512×512 and SDXL at 1024×1024, which is exactly what Steps 2 and 5 ask for. The limits are real, though — sessions time out when idle and you won’t get a T4 at peak hours. Our notes on what the free Colab tier actually delivers and where it breaks are worth reading before you commit a project to it.
The same workflow, start to finish
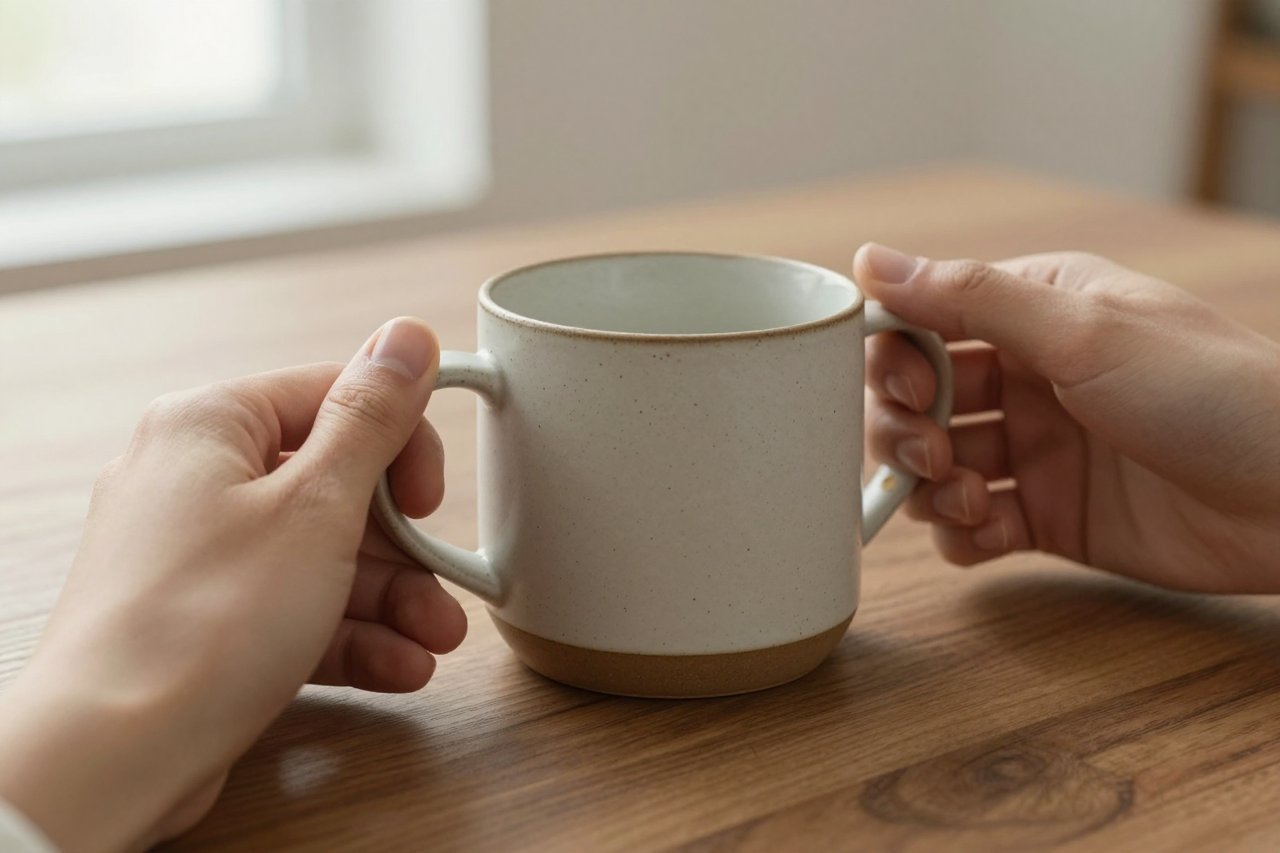
Say you want a product photo of a speckled ceramic mug on a walnut table for a shop listing. Here’s the sequence end to end.
You load an SDXL photoreal checkpoint, set 1024×1024, 28 steps, CFG 5, DPM++ 2M Karras. Prompt: product photo of a speckled ceramic mug on a walnut table, soft window light from the left, 85mm, f/4, neutral background. Negative: text, watermark, extra handles, clutter.
First batch of four gives you one good composition with a smudged handle. You note the seed, then mask the handle at denoising 0.45 and get a clean curve. You run hires fix at 1.5× with denoising 0.4 to reach 1536 pixels wide. The final image gets exported alongside its settings so the client’s second mug colour can be shot with the same recipe, changing only the word “speckled” to “matte olive”.
That last part is the real payoff. Once your settings and seed are documented, Stable Diffusion stops being a slot machine and starts behaving like a repeatable process — which is the only version of it that’s useful on a deadline.