

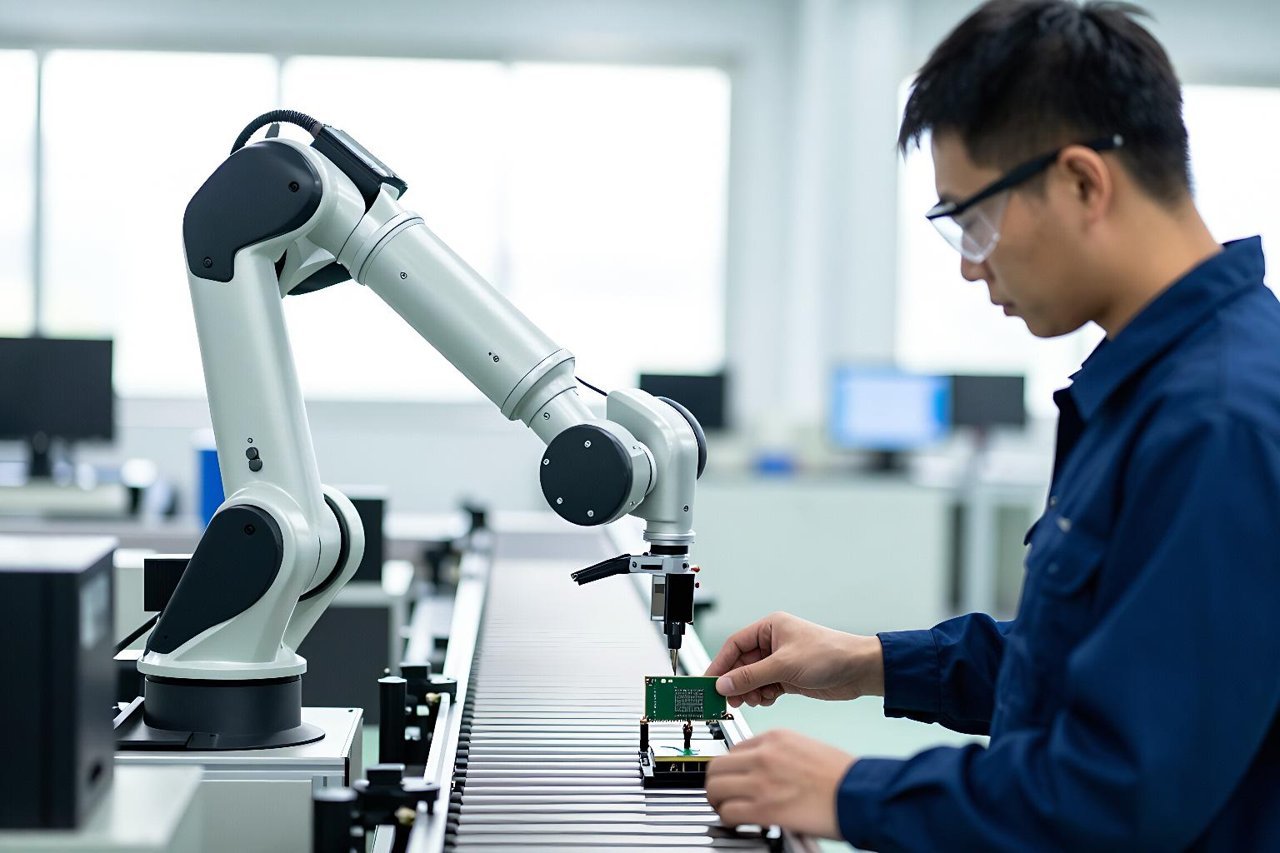
Last year, a mid-sized electronics distributor in Texas installed its first AI robot, a $75,000 cobot arm from Universal Robots. Within three months, it was sorting returned items at 300 units per hour, up from 120 by hand. The project didn’t require a data science team or a six-figure consulting contract. It followed a deliberate sequence that any operations manager can copy.
If you’re thinking about adding an AI robot to your own workflow, you don’t need to start with a warehouse-sized budget. You need a clear process. Here’s a five-step guide, drawn from real deployments, that takes you from picking the right task to measuring payback.
Step 1: Pick a Task That’s Ready for Automation
Don’t start with the hardest problem. Start with a task that is repetitive, high-volume, and has a clear definition of success. Packing boxes, sorting returned goods, or moving pallets between stations are good candidates. Tasks that require fine dexterity or complex judgment, like handling tangled wires or negotiating with a supplier, are still beyond most AI robots.
Before you call a vendor, measure your baseline. How many units per hour does a human worker process? What’s the error rate? What does that labor cost you annually? For the Texas distributor, the sorting task took 25 seconds per item by hand. The robot cut that to 8 seconds. That 3x improvement made the ROI math straightforward.
If you’re unsure what’s realistic, read what AI robots can actually do now. It’ll save you from chasing hype.
- Good candidates: palletizing, pick-and-place, quality inspection, sorting, machine tending.
- Poor candidates: tasks requiring fine motor skills (e.g., threading a needle), tasks with high variability (e.g., handling irregular garbage), tasks needing social judgment (e.g., negotiating with a customer).
Step 2: Choose the Right AI Robot (and Vendor)
The term “AI robot” covers everything from a $2,000 educational kit to a $250,000 autonomous mobile manipulator. For most business applications, you’re looking at one of three categories:
- Collaborative robot arms (cobots): Best for pick-and-place, packing, and inspection. They work safely alongside humans.
- Autonomous mobile robots (AMRs): Ideal for moving materials across a warehouse or hospital floor.
- Specialized AI robots: Examples include fruit-picking arms or surgical assistants. These are built for one job.
Once you know the category, shortlist vendors. Don’t just look at the robot’s spec sheet; ask about integration support, spare parts, and software updates. A good vendor will run a simulation of your task before you buy. For a deeper dive into evaluating AI vendors, this 7-step playbook for buying from top AI companies is worth bookmarking.
Step 3: Prepare Your Environment and Data
Set Up the Physical Space
AI robots are not plug-and-play. They need a structured environment. That means consistent lighting, clear floor markings, and reliable Wi-Fi. A robot that relies on computer vision will struggle if shadows change every hour.
Collect and Label Training Data
Data is the other half. For a vision-guided robot, you’ll need training images of the objects it will handle, ideally hundreds per SKU. You can speed this up by using generative AI to create synthetic variations. This 6-step workflow for using generative AI shows how to generate realistic training data without photographing every item.
If your robot generates performance logs, you can feed those into an analytics platform. Tools like DataRobot can automatically find patterns, like which conveyor speed leads to fewer errors, without you writing code.
Step 4: Run a Pilot With Hard Metrics
Set a fixed pilot period: 30 to 60 days. Define three metrics upfront: throughput (units per hour), accuracy (percentage of correct actions), and downtime (hours per week). Then let the robot run on a single production line or a single shift.
One food-packaging company piloted an AI robot for 45 days. It achieved 98% accuracy on picking irregularly shaped baked goods, but its throughput dropped 15% during the first week due to sensor calibration issues. By week three, the vendor had pushed a software update that recovered the loss. The lesson: expect a learning curve, and make sure your vendor is responsive.
During the pilot, train your human team too. They need to know how to pause the robot, clear jams, and report anomalies. A robot that intimidates your staff will get unplugged.
Step 5: Scale and Integrate With Your Workflow
If the pilot hits your targets, move to integration. That means connecting the robot to your warehouse management system (WMS) or ERP so it receives tasks automatically. It also means adjusting your layout, maybe adding a conveyor or a staging area, so the robot’s cycle time isn’t wasted by human bottlenecks.
Scaling isn’t just about buying more robots. It’s about replicating the setup that worked. Document every step: how you mount the arm, how you calibrate the camera, how you handle exceptions. That documentation becomes your playbook for the second, third, and tenth robot.
This same discipline applies to other AI deployments. If you ever add a voice agent for customer service, for example, you’d follow a similar path: pilot, measure, iterate, scale. This six-week build guide for a Poly AI voice agent proves the pattern holds across modalities.
The Metric That Actually Matters: Payback Period
Forget the flashy demos. The only number your CFO cares about is payback period. Calculate it as total deployment cost divided by monthly savings (labor + error reduction + throughput gains). A $75,000 robot that saves $4,000 per month pays back in 18.75 months. If your payback is longer than 24 months, either the task is too small or the robot is too expensive.
And remember: an AI robot is a tool, not a strategy. The companies that win are the ones that treat it like a new hire: give it clear tasks, measure its performance, and improve its workflow over time. Start with one task, prove the numbers, and let the results make the case for the next one.