

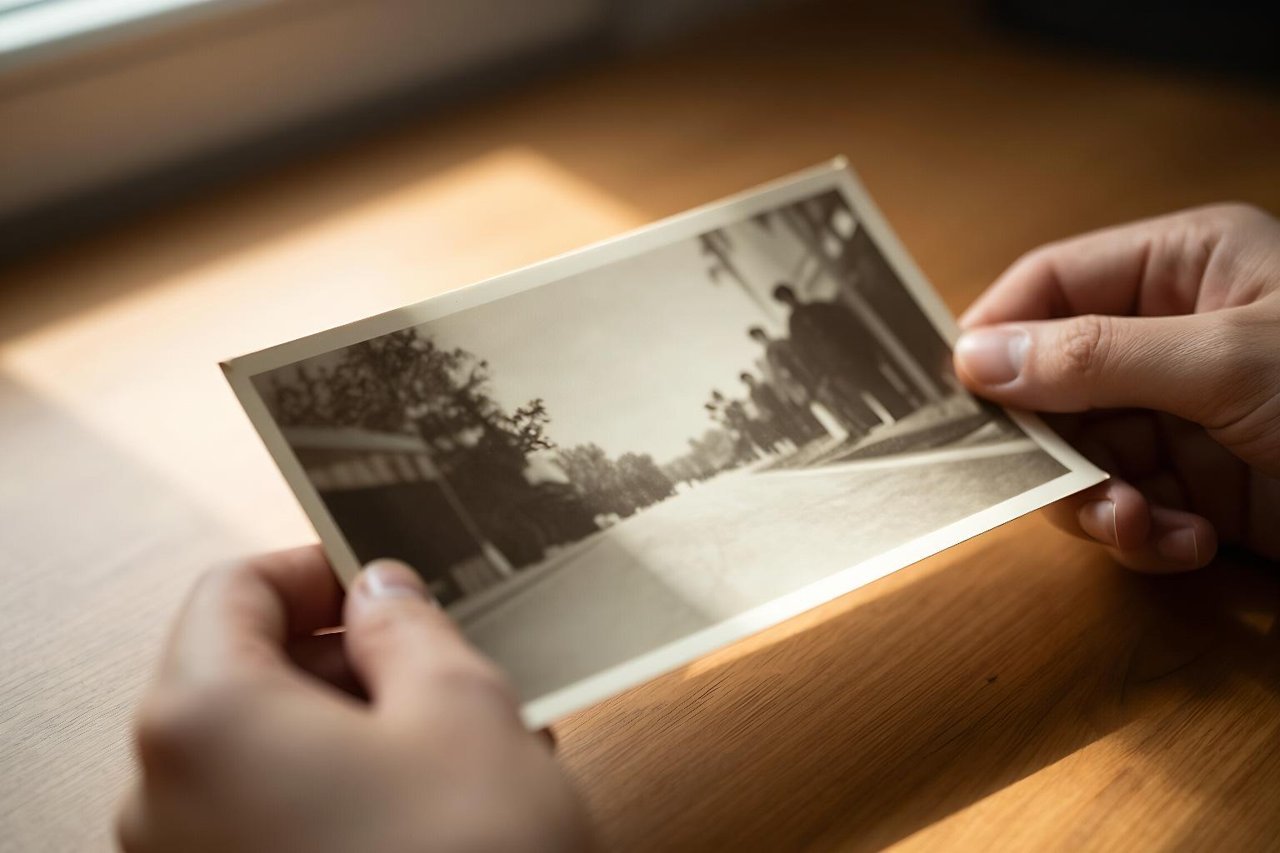
I have a photo of my grandmother standing on a windy beach in 1974. It’s four by six inches, slightly out of focus, and the scanner I used in 2011 left a band of magenta down one side. For years it sat in a folder called “to fix.” Then I ran it through an AI image enhancer and got back something that looked better, mostly. Her face was sharper. The grain was gone. And her left ear, which had always been a soft blur, came back as a crisp, well-defined ear that belonged to somebody else entirely.
That single file tells you most of what you need to know about this technology. It is genuinely remarkable, and it is genuinely capable of lying to you. The trick is knowing which one you’re getting.
What’s actually happening inside an AI image enhancer
Most of these tools run on a neural network trained on millions of paired images: a sharp original and a deliberately degraded copy of it. Over enough iterations, the model learns the relationship between the two. Feed it a blurry photo and it makes a very educated guess about what the sharp version probably looked like.
That guess covers a handful of distinct jobs, which often get bundled together under one button:
- Upscaling. Adding real pixels rather than stretching existing ones. A 2x pass on a 1200×800 image gives you 2400×1600; a 4x pass takes it to 4800×3200, which is about 15 megapixels.
- Deblurring and de-noising. Reconstructing edges lost to motion blur or a cheap sensor, and stripping out high-ISO grain.
- Face restoration. A separate model that recognises a face and redraws it using statistical priors from thousands of training faces. This is where things get dicey.
- Colour and tone correction. Faded prints, yellowed scans, JPEG colour drift.
This is a fundamentally different process from text to image AI, which builds a picture from nothing but a prompt. An enhancer is anchored to an existing file. There’s a real image underneath, which is why the results tend to feel more trustworthy than they actually are.
Four jobs where enhancement genuinely helps
Rescuing a print you want on the wall
Old family photographs are the obvious case, and they respond well to careful restoration work. A scan of a 1960s wedding photo at 600 dpi might still be soft in the faces, because the original lens was soft. An enhancer can pull back a lot of that. If this is your project, the approach in bringing faded family photos back without faking them is worth reading before you start clicking.
Product shots for a small shop
A craftsman shooting ceramics on a phone in a dim workshop ends up with soft, grainy files that look weak on a marketplace listing. A 2x upscale plus denoise gets those images to a usable standard without hiring a photographer. Keep it at 2x, though. Push to 4x on a textured surface like glazed stoneware and the model starts smoothing the glaze into plastic.
Low-light event photos
Wedding receptions, gigs, indoor birthday parties. The grain is the main problem, not the resolution, and modern denoisers handle it far better than the smearing filters of ten years ago.
Enlarging a crop
You framed a shot badly and the subject occupies a fifth of the frame. Cropping in gives you perhaps 900 pixels across. Upscale it once, gently, and you have something printable at postcard size.
The catch: models invent detail, and they’re confident about it
Face restoration is the biggest offender. Tools like GFPGAN and CodeFormer were trained on celebrity-heavy datasets, and they will nudge a face toward the average of what they’ve seen. Wrinkles vanish. Freckles disappear. A 70-year-old man comes back looking 55. He’s still recognisably himself, which is exactly what makes it sneaky.
Text is the other giveaway. Street signs, book spines, labels on a jumper, handwriting on the back of a print. The model has no idea what letters are, so it produces convincing-looking squiggles. Anyone who looks closely will spot them immediately.
Fine repeating patterns suffer too: tweed, brickwork, chain-link fences, knitted wool. These can turn into a uniform mush that reads as fake at print size. There’s a longer breakdown of which artefacts show up where in this guide to what an AI photo enhancer fixes and what it invents, and it’s the distinction worth internalising.
A workflow that holds up
- Start from the best original. Rescan the negative or the print at 600 dpi if you can. Enhancing a compressed WhatsApp copy is polishing a brick.
- Fix the basics first. Crop, straighten, and correct exposure in a normal editor before the AI touches anything. Models amplify whatever you feed them, including a bad white balance.
- Run the smallest upscale that solves your problem. If 2x gets you to print resolution, stop at 2x.
- Turn face restoration off unless you truly need it. If the face is a dozen pixels wide, you have no identity left to preserve and the model is your only option. If the face is already clear, leave it alone.
- Compare at 100% zoom, side by side. Not on a phone. On a proper monitor, at actual pixels, with the original next to it.
- Mask the result. Good tools let you apply enhancement to part of an image. Sharpen the faces and the product, leave the sky and the backgrounds untouched.
Picking a tool without burning money
The market splits roughly three ways. Desktop one-offs like Topaz Gigapixel charge a flat fee and run offline, which suits anyone processing hundreds of files. Cloud services like Magnific or the various Remini-style apps charge per credit and produce punchier results at the cost of realism. And there’s open-source software such as Upscayl or Real-ESRGAN, which is free, runs locally, and does a perfectly respectable job once you get past the installer.
Watch for the usual free-tier traps: watermarks, hard caps around 720px output, and credit systems that quietly expire. The same patterns show up across the category, and this piece on what real free AI tools can and can’t do covers how to spot a genuinely usable free tier. Expect to run maybe twenty test images before you commit to a subscription. Anyone who won’t let you do that isn’t worth paying.
The numbers that decide whether a print will look good
Printers want pixels per inch, and the target is 300 ppi for anything held in the hand. A 3000-pixel-wide file prints at 10 inches across. Drop to 150 ppi and it’s still acceptable for a poster viewed from a metre away, but not for a photo book.
So the maths is simple. Measure your intended print size in inches, multiply by 300, and that’s your target width. A 16×20 inch enlargement needs 4800 pixels across. If your original is 1200 pixels wide, you need a 4x upscale, and you should expect the model to be working hard for it. Beyond 4x, quality falls off a cliff. Two passes of 2x rarely beat one pass of 4x, either, because artefacts compound.
Keep the original. Always.
Save the enhanced file under a new name and keep the untouched scan sitting next to it, forever. Models improve every few months. A file you mangled in 2024 with an aggressive face restorer will look dated by 2026, and if all you kept was the enhanced version, you’ve lost the evidence of what your grandmother’s ear actually looked like.
That’s the real discipline here. An AI image enhancer is a restoration tool with a vivid imagination, and the useful ones let you dial that imagination down. Sharpen what’s there. Recover what’s faded. And when the software offers you a detail that was never in the original, learn to say no.