

Most people open an AI image creator, type a sentence, and decide whether the tool is any good based on the first thing it spits back. That is like judging a camera on one auto-mode snapshot taken in bad light.
I have made somewhere north of 4,000 generated images in the last two years: blog headers, product mockups, a children’s book that never got finished, and a lot of throwaway tests. The gap between a forgettable result and something you would actually publish comes down to six decisions, and nearly all of them happen before you press generate a second time.
Before you write a prompt, write a shot list
Prompts are cheap. Direction is not. Spend two minutes writing down what the image has to do: where it will sit, who looks at it, what feeling it carries, and how much empty space the headline needs.
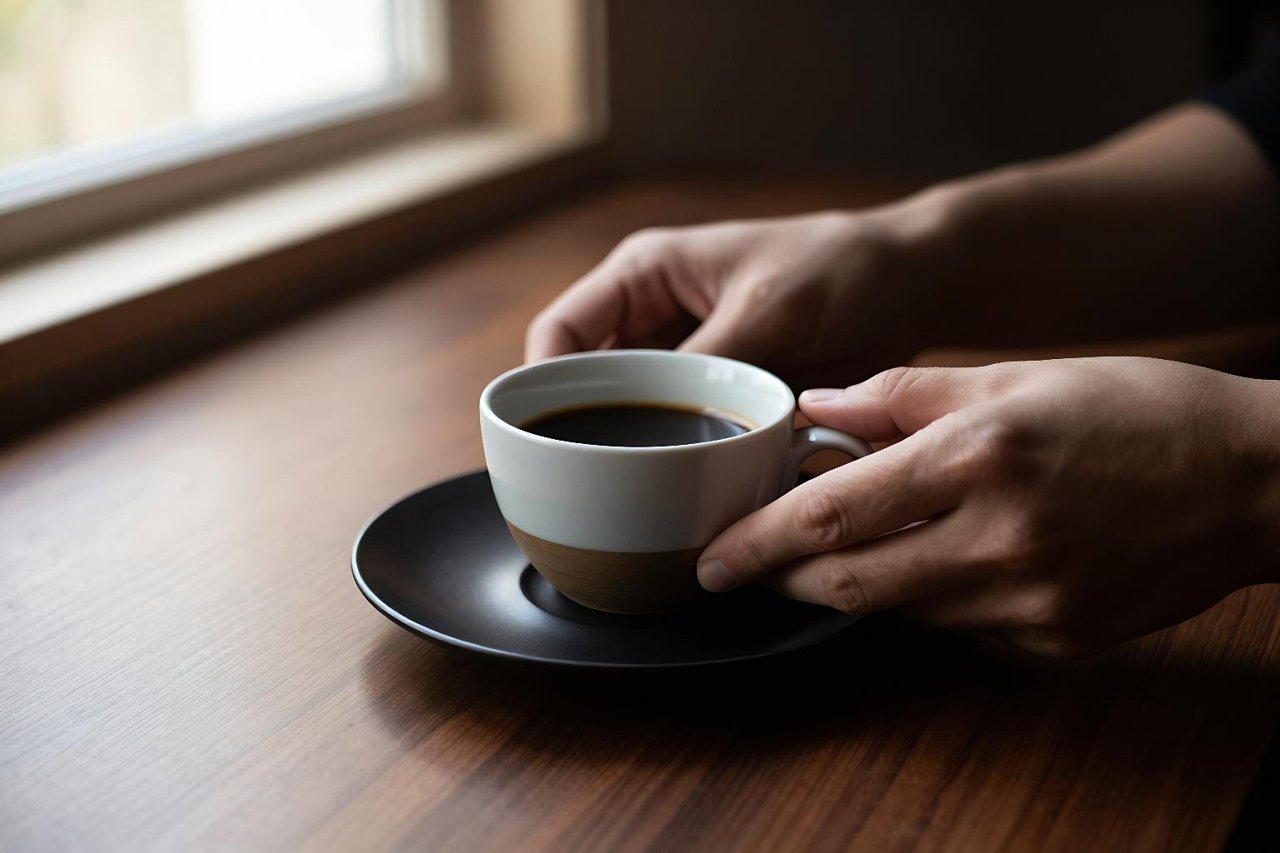
A hero image for a coffee subscription page has different requirements from a square Instagram post. One needs quiet space at the top and a background that does not fight the text. The other needs a subject that still reads at thumbnail size. Skip this step and you will generate ten beautiful images that all fail for the same reason: the wrong shape.
If you are new to this, the fundamentals of steering a generator are worth reading once before you burn credits. Mastering the art of the AI image creator covers the parts most tutorials leave out.
The four-layer prompt (with a worked example)
Good prompts are structured, not poetic. Four layers, in this order:
- Subject — what is in frame, plus one action or state
- Style — photographic, illustrated, 3D render, specific film stock
- Light and lens — direction of light, hard or soft, focal length
- Composition — angle, framing, colour palette, what to leave out
Here is a lazy prompt: a chef in a kitchen. You will get a stock-photo shrug.
Here is the same idea with all four layers stacked: overhead shot of a chef’s hands plating seared scallops on a matte black plate, food photography, warm tungsten light from the left, 85mm lens, shallow depth of field, muted charcoal and amber palette, dark background, no text.
Notice those last two words. Most AI image creators will happily invent a menu, a label, or a street sign, and generated text is almost always gibberish. Say “no text” and save yourself a retouch later.
What to cut
Delete adjectives that describe nothing measurable. “Stunning”, “amazing”, “high quality” and “masterpiece” do zero work. So does stacking five art movements in one line. Pick a single style reference and commit to it.
Lock the aspect ratio before anything else
This is the most common time-waster in the whole process. You generate a gorgeous vertical image, then realise you need 16:9 for a blog header, and start over from nothing.
Decide up front:
- 16:9 or 3:2 for blog headers and video thumbnails
- 4:5 for Instagram feed, 9:16 for Reels and Stories
- 1:1 for avatars, icon art and marketplace listings
Generate at the largest size the tool offers, then downscale. Shrinking a big file always looks better than upscaling a small one.
Change one variable per round, and keep your seed
This is where the real craft lives. If you change the subject, the lighting and the style at the same time, you learn nothing about which change actually worked.
Round one gives you a base. Round two, change only the light. Round three, only the camera angle. Keep your prompt text in a plain document and log the seed number whenever your tool exposes one, because reusing a seed lets you hold a composition you liked while swapping the palette or the subject’s clothing.
If you want to see that loop played out step by step rather than described, the free AI image generator walkthrough shows the iterations side by side.
Use a reference image when composition has to be exact
Text prompts are good at mood and bad at layout. If you need a product at a specific angle, or a subject in the left third with clean space on the right, upload a reference and run image-to-image at a moderate strength. High enough to keep the shape, low enough to let the model redraw the surface.
A rough sketch photographed on your phone works surprisingly well here. So does a frame grabbed from a video.
Fix hands, faces and text afterwards
You can burn thirty generations trying to fix a six-fingered hand. Stop. Most tools now include an inpainting brush: mask the problem area, describe only what should be there, and regenerate that patch alone. Three attempts at a hand beats thirty attempts at a whole image.
Smaller issues, like a stray highlight or a slightly soft eye, are faster to clean up in a photo editor. Two minutes with a healing brush is not cheating.
A 30-minute run-through: coffee subscription hero image
Concrete example, start to finish.
- Minute 0-3: Shot list. 16:9 hero, dark background, headline space top-left, mood of a slow morning, premium but not cold.
- Minute 3-8: First prompt with all four layers. Four variations at 4K.
- Minute 8-14: Pick the best composition, keep the seed, soften the lighting and drop the contrast.
- Minute 14-20: Second round of four. One is nearly right, but the mug handle warps. Mask it and regenerate that region.
- Minute 20-25: Upscale, crop to 16:9, nudge contrast, export.
- Minute 25-30: Add the real headline in your layout tool. Never generate words.
Half an hour for a bespoke hero image with no licensing fees. A stock subscription costs more per month than most generators do.
Where the free tiers stop working
Free plans are genuinely useful now, and plenty of projects never need anything else. They tend to cap you in three places: resolution, commercial licensing, and daily generations. If you only need 1024px images for social, that is fine. If you need print-ready files or a hundred variations a week, it is not. What you can really make with a free AI photo generator, and where it hits a wall, is worth five minutes before you commit to a paid tier.
Once the still works, the same prompt goes further
Image models have quietly become the front end for video. Tools like InVideo AI take a written brief and assemble a finished cut, and the strongest results almost always start from a still you have already art-directed. Hailuo AI has built a similar reputation for motion that holds up in close-up. That is the real payoff of learning this workflow properly: your prompt library quietly becomes a storyboard library.
So build the habit of saving every prompt that worked, along with its seed, aspect ratio and model name. Twelve documented prompts will carry you through a year of content. The people who complain that AI images all look the same are usually the ones typing a fresh sentence every time and throwing away the settings that got them close.